Ever been there? You’re in the zone, crafting the perfect gourmet burgers or savory sausages. The hum of your meat grinder is music to your ears. Then, silence. Or worse, a strained, unhappy groan from the motor. You’ve hit the dreaded clog. We’ve all felt that little pang of frustration, but don’t worry. Learning How To Remove Meat From The Auger is a rite of passage for any home grinding enthusiast, and it’s much easier than you think. It’s a simple problem that, once you master it, will make you feel like a true Meat Grinder Pro.
Why Does Meat Get Stuck in the Auger Anyway?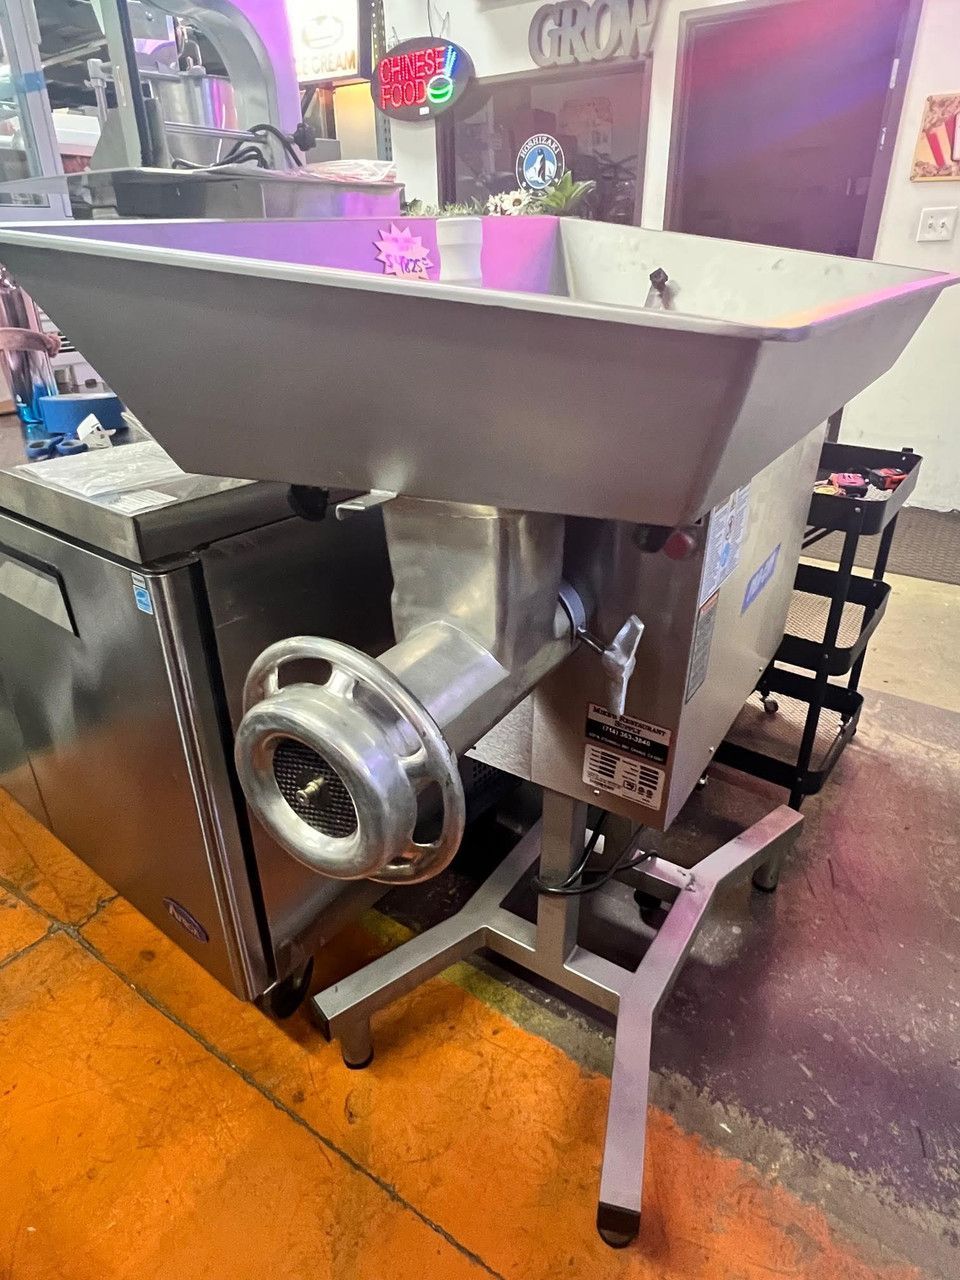
Before we dive into the “how,” let’s quickly touch on the “why.” Understanding the cause is the first step to preventing it from happening again. Think of your grinder’s auger—that big corkscrew-looking piece—as the heart of the operation. Its job is to grab the meat and push it forward towards the cutting blade and plate. When the system gets backed up, it’s usually for one of these reasons:
- The Meat is Too Warm: This is the number one culprit. Warm fat and meat get soft and smeary. Instead of being cut cleanly, they just gum up the works.
- Too Much Sinew or Silver Skin: That tough, connective tissue is the arch-nemesis of a meat grinder. It can wrap around the auger and blade, bringing everything to a screeching halt.
- The Pieces are Too Big: Your grinder is powerful, but it’s not invincible. Feeding it chunks of meat that are too large for the feed tube forces the motor to work too hard and can easily cause a jam.
- Feeding Too Fast: It’s tempting to just shove all the meat in as fast as you can, but a steady, even pace is key. Overloading the auger doesn’t give it time to process the meat before the next piece arrives.
The Definitive Guide: How to Remove Meat from the Auger Step-by-Step
Alright, let’s get you back to grinding. Your machine is clogged, and you need a solution now. The most important thing to remember through this whole process is safety first.
- STOP AND UNPLUG: I can’t stress this enough. Before you even think about touching any part of that grinder, turn it off and pull the plug from the wall. No exceptions. This isn’t just a suggestion; it’s the golden rule.
- Try the Reverse Function (If You Have One): Many modern electric grinders have a “Reverse” switch for this exact situation. Run it in reverse for a few seconds. Often, this is enough to back the clog out of the auger and clear the jam. If it works, fantastic! Clear the backed-up meat and try again (perhaps with smaller or colder pieces this time). If not, move to the next step.
- Time for Disassembly: Carefully disassemble the grinding head. Unscrew the main retaining ring, then remove the grinder plate and the cutting blade. Be careful, that blade is sharp! This will expose the front end of the auger. A lot of the time, the clog is right at the front, tangled in the blade, and you’ll be able to pull it out easily.
- Gently Persuade It Out: If the meat is stuck deep inside the auger housing, you’ll need to give it a nudge. Grab your meat stomper (the plastic plunger that came with your grinder) or the handle of a wooden spoon. From the back of the grinder head (where you feed the meat in), gently push the auger forward and out of the housing. The stuck meat should come out with it. Never, ever use your fingers or a metal object like a knife or screwdriver for this. You risk injury to yourself or damage to your machine.
“The oldest trick in the butcher’s book for a stubborn clog is the bread trick. After you’ve cleared most of the meat, run a slice or two of stale bread through the grinder. It does a fantastic job of pushing out any remaining fatty residue and cleans the components remarkably well.”
— Chef David Wilson, Culinary Expert
The Pro-Level Unclogging Tricks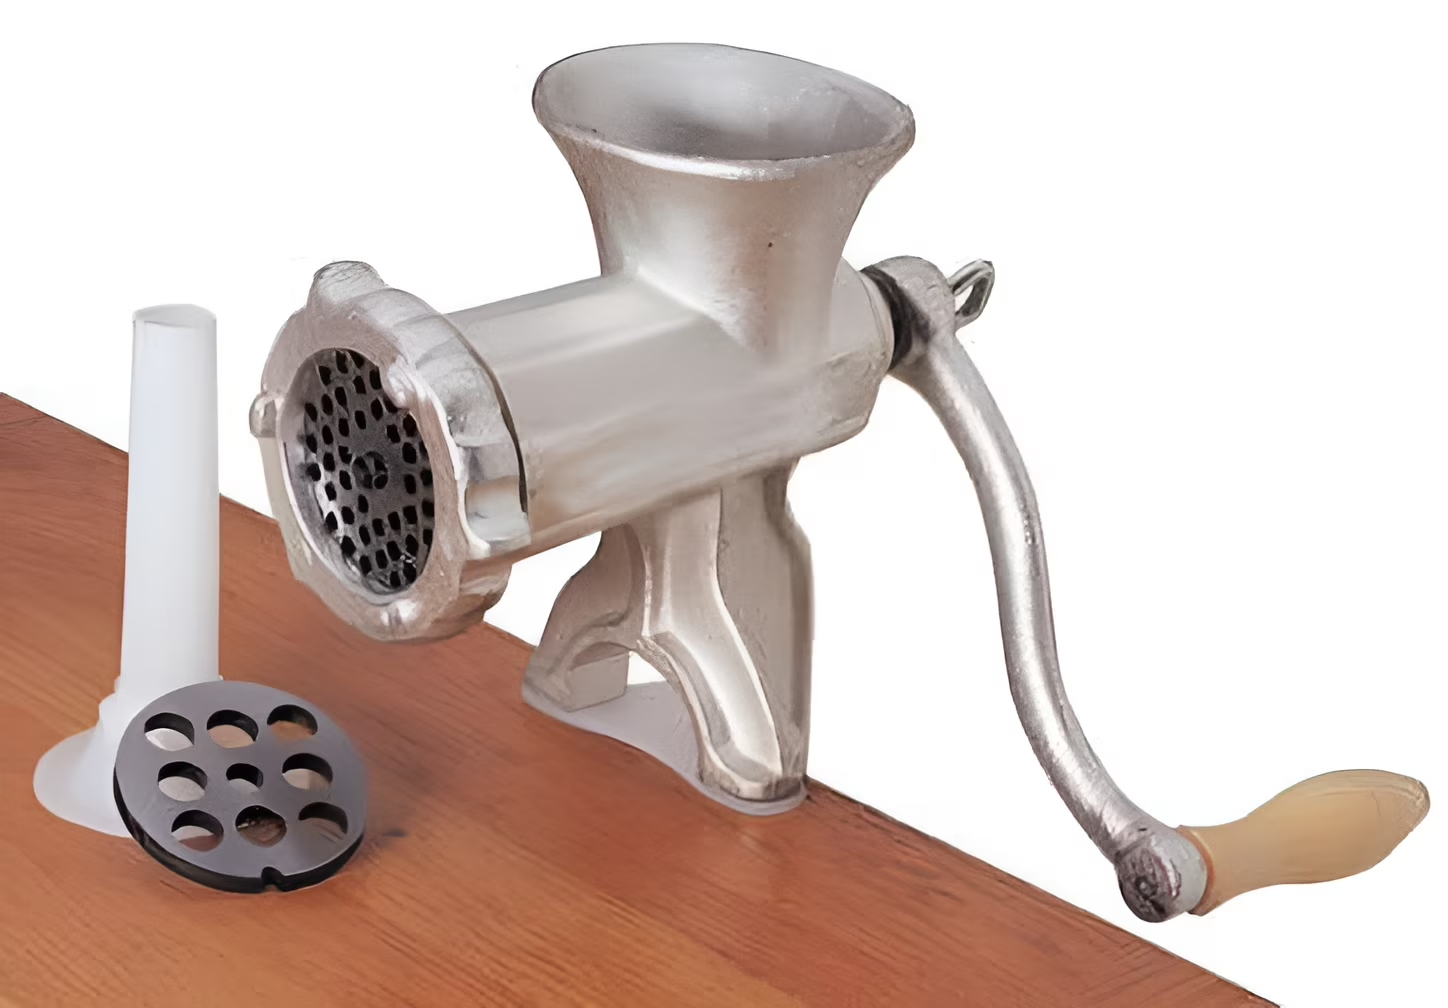
Sometimes, you encounter a truly stubborn clog. Here are two field-tested methods that work like a charm.
The Bread Method
As Chef Wilson mentioned, this is a classic. Bread is slightly abrasive and absorbent. It acts like a sponge, grabbing onto the greasy, sticky bits of meat and fat and pushing them through the plate. This is great for clearing out the last stubborn remnants after you’ve removed the main clog.
The Freezer Method
If the meat is really smeared and stuck, put the entire grinder head assembly (the metal parts, not the motor!) in the freezer for about 20-30 minutes. This will cause the fat and meat to firm up significantly. Once chilled, the stuck-on bits will often pop right off or can be pushed out with minimal effort. This is my personal go-to for really greasy meats like pork shoulder.
How to Prevent a Clogged Auger in the First Place
Knowing how to remove meat from the auger is a great skill, but not having to do it at all is even better. A little prep work goes a long way.
- Chill Everything: Your meat should be partially frozen, firm to the touch but not solid ice. A good 30-45 minutes in the freezer is perfect. And don’t stop there! Put your metal grinder components—the head, auger, blade, and plate—in the freezer too. A cold machine keeps the meat cold.
- Proper Meat Prep:
- Cut your meat into uniform strips or 1-inch cubes that easily fit down the feed tube.
- Take the time to trim off as much of the excessive sinew, silver skin, and tough connective tissue as you can. Your grinder will thank you.
- Don’t Force It: Let the grinder do the work. Feed the meat in at a steady pace and use the stomper to gently guide it, not to force it down.
Frequently Asked Questions (FAQ)
Q: Is it normal for a little bit of meat to be left in the auger after grinding?
A: Yes, it’s completely normal. A small amount of meat will always remain in the screw of the auger and behind the plate. This is why running a piece of bread through at the end is a popular trick to minimize waste and aid in cleanup.
Q: Can I use hot water to melt the stuck fat and meat?
A: It’s best to avoid this. While it might seem logical, hot water can start to cook the meat residue, making it even gummier and harder to clean. Stick to cold or lukewarm water and a good brush for cleaning after disassembly.
Q: My grinder gets clogged constantly with sinew. What am I doing wrong?
A: You’re likely not trimming the meat thoroughly enough. Tough sinew is the primary cause of clogs that wrap tightly around the blade and auger. Take a few extra minutes to trim away the thickest connective tissues before you start grinding.
Q: What’s the best tool to use to push out a clog?
A: The safest and best tool is the food pusher or stomper that came with your machine. If you’ve misplaced it, the thick, blunt handle of a wooden or silicone utensil is a safe alternative. Avoid metal at all costs to prevent scratching and damaging your equipment.
Q: Why does my ground meat look pasty? Is this related to clogging?
A: Yes, this is a classic sign that your meat and equipment are too warm, which is also a leading cause of clogs. The “pasty” look comes from the fat smearing instead of being cut cleanly. The solution is the same: make sure everything is very cold before you begin.
Grinding with Confidence
A jammed auger can feel like a major roadblock, but it’s just a small bump on the road to delicious, homemade ground meat. By understanding why it happens and knowing the simple steps to fix it, you’ve unlocked a new level of confidence in the kitchen. Now that you know how to remove meat from the auger like a professional, you can focus on what really matters: crafting incredible food for you and your family. So get back to it, grind on, and don’t let a little clog slow you down.