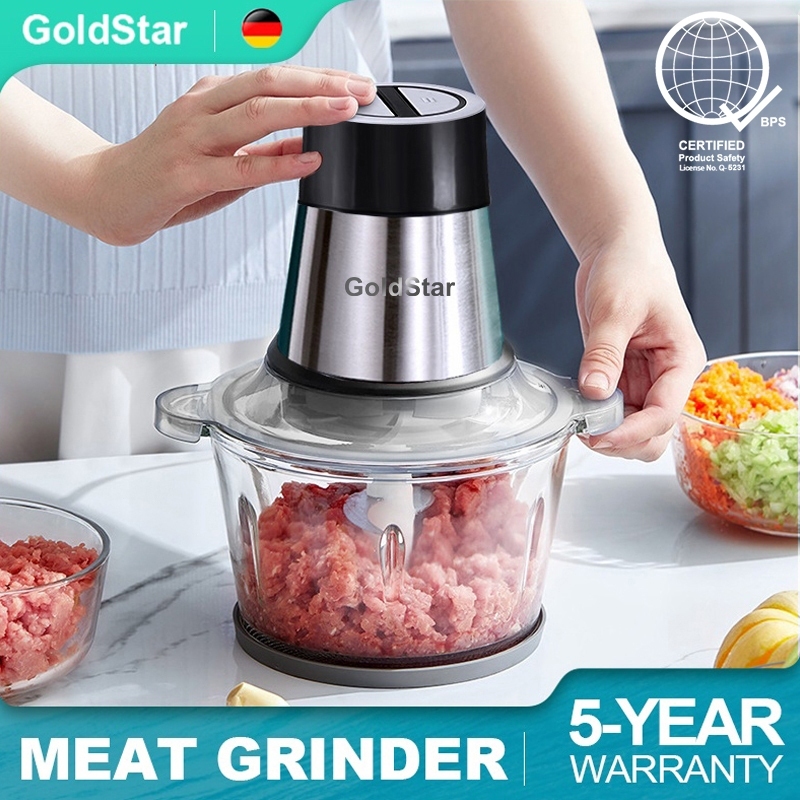
There’s nothing quite like the satisfaction of making your own burgers, sausages, or meatballs from scratch. You control the quality, the fat content, and the flavor. You’ve got your meat chilled, your station prepped, and you flip the switch. The grinder hums to life, and then… chug, chug, whirrrrrrr. The motor strains, the meat stops coming out, and you’re faced with every home butcher’s nightmare. You’re thinking, My Meat Grinder Is Clogged Or Jammed, and the whole project has ground to a halt. Don’t panic. We’ve all been there, and I’m here to tell you it’s almost always an easy fix. More importantly, I’m going to show you how to prevent it from ever happening again.
First Things First: Why Is My Meat Grinder Clogged or Jammed?
Before we can fix the problem, it helps to understand what’s causing the traffic jam inside your machine. A meat grinder is a simple but powerful tool. It uses a corkscrew-like auger to push meat toward a spinning blade and then through a grinder plate with small holes. A jam happens when something prevents this flow.
Nine times out of ten, the culprit is one of these four things:
1. The Meat is Too Warm
This is the number one reason for clogs. Warm meat and fat become soft and smeary. Instead of being cleanly cut by the blade, they get mushed against the grinder plate, creating a pasty blockage that nothing can get through. It’s like trying to push pudding through a sieve.
2. Sinew or Silver Skin
You know that tough, shiny, fibrous tissue that runs through some cuts of meat? That’s sinew and silver skin. While your grinder’s blade is sharp, this stuff is incredibly tough and stringy. It can wrap itself around the auger and blade like dental floss, creating a tangled knot that stops the machine dead in its tracks.
3. You’re Feeding it Too Fast
I get it, you’re excited to see that beautiful ground meat emerge. But stuffing the grinder’s throat too quickly overwhelms the auger. It can’t move the meat forward fast enough, leading to a compressed, solid plug. It’s a classic case of “too much of a good thing.”
4. The Grinder Plate is Misaligned or a Mismatch
Using a grinder plate with holes that are too small for a first grind (especially with fatty or sinewy meat) can cause backups. Additionally, if the blade isn’t sitting perfectly flat against the plate, it won’t cut effectively, leading to smearing and jamming.
The Ultimate Step-by-Step Guide to Fixing a Jammed Grinder
Alright, let’s get you back in business. Your machine is humming angrily, and you’re stuck. Here’s exactly what to do.
- Safety First: Turn It Off and Unplug It! I can’t stress this enough. Before you even think about touching any part of the grinder, turn it off and pull the plug from the wall. This is non-negotiable. A grinder is designed to pull things in, and you want to keep your fingers.
- Try the Reverse Function (If You Have One). Many electric grinders have a “reverse” switch. Try running it in reverse for a few seconds. Sometimes, this is all it takes to dislodge the clog and push it back up the feeding tube. If it works, clear the offending piece of meat and try again (slower this time!). If not, proceed to the next step.
- Disassemble the Grinding Head. Carefully unscrew the ring cap that holds the grinder plate and blade in place. Be prepared; there might be some pressure built up behind the clog, so it might pop a little. Remove the plate and the blade.
- Identify and Remove the Obstruction. Now you’ll see the problem firsthand. It’s likely a wad of smeared fat or a tangle of sinew wrapped around the end of the auger. Use a fork, pliers, or even a pair of chopsticks to pull the blockage out. Never use your fingers.
- Pull Out the Auger. Once the main blockage is clear, slide the auger out of the grinder body. Inspect it thoroughly. You’ll often find more sinew or tough bits wrapped around the shaft. Clean it completely.
- Clean and Inspect All Components. Take this opportunity to give the plate, blade, and auger a quick wipe-down. Make sure there are no remaining bits of meat or tissue that could cause another jam. Check that the blade is still sharp and the plate holes are clear.
- Reassemble Correctly. This is crucial. Slide the auger back in. Place the blade on the end of the auger, making sure the flat side of the blade is facing out towards the plate. This is the cutting surface. Place your desired grinder plate over the blade, ensuring it sits flush. Finally, screw the ring cap back on, hand-tight. Don’t overtighten it.
- Resume Grinding (The Right Way). Plug the machine back in and continue your project, keeping our prevention tips in mind.
Prevention Is Better Than a Cure: How to Never Jam Your Grinder Again
Fixing a jam is easy, but not having one in the first place is even better. Adopting a few pro habits will make your grinding sessions smooth and trouble-free.
- Chill Everything: This is the golden rule. Your meat should be semi-frozen, firm to the touch but not rock solid. I recommend dicing your meat into 1-inch cubes and spreading them on a baking sheet in the freezer for 15-30 minutes. Even better, chill the metal parts of your grinder (the head, auger, blade, and plate) in the freezer, too. A cold grinder is a happy grinder.
- Prep Your Meat Properly: Take a few extra minutes to trim off any large, thick pieces of silver skin and sinew. You don’t have to get every last bit, but removing the big, obvious pieces will make a world of difference.
- The Two-Grind Method: For the absolute best texture (and fewest jams), grind your meat twice. Start with a coarse plate (e.g., 10mm) for the first pass. This breaks the meat down easily. Then, switch to a finer plate (e.g., 4.5mm) for the second pass.
- Feed a Strip at a Time: Don’t just dump meat into the hopper. Feed it in steady strips or a few cubes at a time. Let the auger catch the meat and pull it in before you add more. Listen to the motor; if it starts to labor, you’re going too fast.
- The Bread Trick: Here’s a classic tip for cleanup that also helps clear the last bits of meat. When you’re done grinding, run a couple of slices of stale bread through the machine. The bread pushes the remaining meat and fat out, making cleaning much easier.
“The single biggest mistake I see beginners make is using warm meat. If your meat isn’t cold enough to be stiff, it’s not ready to grind. Pop it back in the freezer for 15 minutes. It will save you a world of frustration.” – Chef David Wilson, Culinary Expert
How Do I Choose a Grinder That’s Less Likely to Jam?
While technique is key, the machine itself does play a role. If you find my meat grinder is clogged or jammed is a phrase you’re using all too often, it might be time for an upgrade.
| Feature | Manual Grinder | Entry-Level Electric Grinder | Heavy-Duty Electric Grinder |
|---|---|---|---|
| Power | Your arm strength | 200-500 Watts | 500+ Watts (often listed in HP) |
| Jam Likelihood | Low (you can feel the resistance) | Moderate (can struggle with sinew) | Very Low (powers through tough bits) |
| Best For | Small batches, sausage stuffing | Occasional home use, lean meats | Large batches, frequent use, bones |
| Price | $ | $$ | $$$ |
A more powerful motor can simply muscle through tougher bits that might jam a smaller machine. Look for grinders with all-metal gears and a high wattage or horsepower rating for the most robust, jam-resistant performance.
Frequently Asked Questions
What should I do if the reverse function doesn’t work?
If the reverse function doesn’t clear the clog, it means the jam is too severe. Immediately turn off and unplug the machine, then follow the manual disassembly steps outlined above. Forcing it could damage the motor.
Can I grind partially frozen meat?
Yes, you absolutely should! Partially frozen meat is the ideal state for grinding. It’s firm, so the blade cuts it cleanly instead of smearing it. This results in better texture and is the best way to prevent your grinder from getting clogged.
Why is my ground meat coming out mushy?
Mushy meat is a classic sign that your meat and/or grinder parts were too warm. The fat smeared instead of being cut into distinct particles. The solution is simple: chill everything for longer next time.
How often should I sharpen my grinder blade?
For a regular home user, you likely won’t need to sharpen it for years. A more telling sign is performance. If you’re doing everything right (cold meat, good prep) and still getting smearing, it might be time to sharpen the blade or simply replace it. They are generally inexpensive.
What’s the best way to clean sinew that’s wrapped around the auger?
After unplugging and disassembling, the easiest way is to use a small, sharp knife (like a paring knife) to carefully cut the wrapped fibers. Be cautious not to cut yourself or scratch the auger. Once you make a cut, the rest should unravel easily.
A Smooth Grind Every Time
Facing a situation where my meat grinder is clogged or jammed can feel like a major roadblock, but it’s really just a small bump in the road. By understanding the causes—usually warm meat or tough sinew—and knowing the simple steps to safely clear it, you can handle it like a pro. Better yet, by embracing the core principles of keeping everything cold and prepping your meat well, you can make jams a thing of the past. Now, go forth and grind with confidence, and enjoy the unparalleled taste of your own homemade creations.