Have you ever stood in your kitchen, meat grinder at the ready, and wondered what all those extra plastic bits and bobs are for? You’re not alone. Tucked inside many meat grinder accessory kits is a peculiar-looking two-piece tool that leaves many home cooks scratching their heads. So, What Is A Kubbe Attachment? In short, it’s your secret weapon for creating incredible, professional-looking stuffed dishes, primarily the Middle Eastern delicacy, kubbe (or kibbeh). But trust me, its potential goes way beyond a single recipe.
Think of it as the key that unlocks a whole new level of culinary creativity for your meat grinder. It transforms your trusty machine from a simple grinder into a sophisticated food shaper. Let’s dive deep into this fascinating little gadget and discover how it works, why you need one, and how it can completely change your cooking game.
So, What Exactly is a Kubbe Attachment?
A kubbe attachment is a specialized accessory for a meat grinder designed to form hollow tubes or shells out of a meat mixture. It typically consists of two parts: a cone-shaped piece (the shaper) and a ring (the collar) that holds it in place. It doesn’t grind the meat; instead, it shapes the already-ground meat mixture as it is extruded from the grinder.
Imagine you’re making homemade pasta. You feed dough into an extruder, and it comes out in a specific shape, like a macaroni tube. A kubbe attachment works on a similar principle. You feed your prepared meat or dough mixture into the grinder, and the attachment forms it into a perfect, uniform hollow cylinder, ready for you to stuff with delicious fillings. This process is essential for making traditional kubbe, where a casing of bulgur wheat and ground meat is filled with a spiced mixture of sautéed meat and nuts.
How Does This Little Gadget Even Work?
At first glance, it might seem like magic, but the process is beautifully simple. The attachment is designed to force the food mixture around a central cone, creating a tube as it exits.
- Preparation is Key: First, you prepare your outer shell mixture. For traditional kubbe, this is usually a paste made from fine bulgur wheat, ground meat (often lamb or beef), onions, and spices. It’s important that this mixture is smooth and pliable.
- Assembly: You assemble your meat grinder as usual but leave off the grinding plate and cutting blade. Instead, you attach the two-piece kubbe attachment to the front of the grinder’s head.
- Extrusion: You then feed your prepared shell mixture into the grinder’s hopper and turn it on. The auger (the corkscrew-like part) pushes the mixture forward.
- Formation: As the mixture reaches the end, the kubbe attachment forces it through the gap between the outer ring and the inner cone. This action forms the hollow tube.
- Cutting and Stuffing: The machine will continuously produce this hollow tube. You can then cut it into your desired lengths, pinch one end closed, add your filling, and then pinch the other end to seal it, often forming it into its classic torpedo shape.
It might take a little practice to get the hang of it, but once you do, you’ll be churning out perfectly formed shells in no time.
Why You Absolutely Need a Kubbe Attachment in Your Kitchen
You might be thinking, “That sounds cool, but I don’t make Middle Eastern food often.” That’s a fair point, but thinking of this tool as only for kubbe is like saying a chef’s knife is only for chopping onions. The true value of a what is a kubbe attachment lies in its versatility and the professional results it delivers.
- Unmatched Consistency: Hand-forming stuffed dishes is an art, but it’s difficult to get every piece the same size and thickness. The attachment ensures every shell is perfectly uniform, which means they cook evenly and look stunningly professional.
- A Huge Time-Saver: Once you get into a rhythm, using the attachment is exponentially faster than forming each shell by hand. You can prepare dozens in the time it would take to make a few manually.
- Gateway to New Cuisines: This tool is your passport to exploring authentic dishes from the Levant and beyond. From Lebanese kibbeh to Iraqi kubba, you can recreate family recipes or discover new favorites with authenticity.
- Creative Freedom: Don’t stop at kubbe! This is where the fun really begins. The attachment is a tool for making any kind of hollow food tube.
|
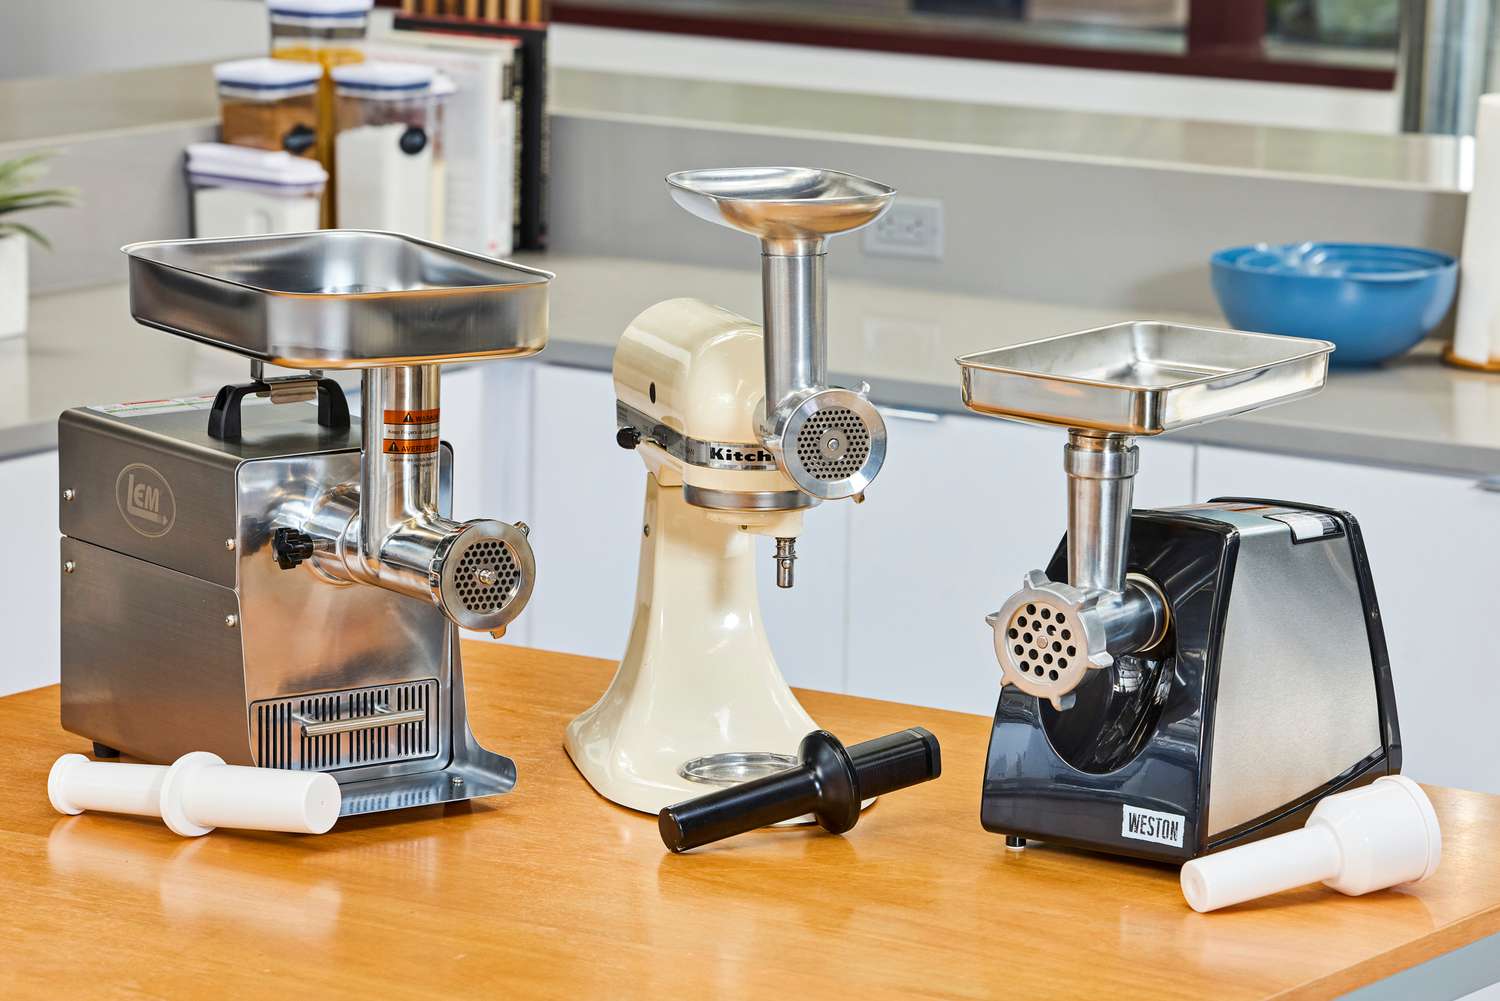
Our Picks for the Best Meat Grinder in 2025
As an Amazon Associate, we earn from qualifying purchases.
|
||
| Num | Product | Action |
|---|---|---|
| 1 | LEM Products BigBite #8 Meat Grinder, 0.50 HP Stainless Steel Electric Meat Grinder Machine, Ideal for Regular Use |

|
| 2 | LEM Products BigBite #22 Meat Grinder, 1.0 HP Stainless Steel Electric Meat Grinder Machine, Ideal for Heavy Use |
|
| 3 | Weston Pro Series Electric Meat Grinder 7 Sausage Stuffer, Commercial Grade, 1500 Watts, 2 HP, 21lbs. Per Minute, Heavy Duty Stainless Steel (10-3201-W) |
|
| 4 | MEAT! 1.5 HP Meat Grinder with 3 Stuffing Tubes, 2 Stainless Steel Grinding Plates, and a Stainless Steel Stuffing Plate for Making Ground Meat |
|
| 5 | MEAT! 1.5 HP Meat Grinder with 3 Stuffing Tubes, 2 Stainless Steel Grinding Plates, and a Stainless Steel Stuffing Plate for Making Ground Meat |
|
| 6 | AAOBOSI Meat Grinder Electric 3000W Max with Touch Color Screen, Auto-Reverse & Built-in Storage - 3 Speed Settings,Grinding, Sausage & Kibbe Making for Home Use, Stainless Steel |
|
| 7 | STX International Turboforce II 4000 Electric Meat Grinder | Grinds Soft Bones | Foot Pedal | 6 Grinding Plates | Stainless Steel Blades | Sausage Tubes | Kubbe Maker | Meat Claws | Patty Press & More |
|
| 8 | Commercial Meat Grinder #12,0.9HP Electric Meat Mincer,Heavy Duty Stainless Steel Industrial Meat Mincer w/2 Blades & Meat Pusher,Food Grinders Machine for Home Kitchen Regular Use |
|
| 9 | VEVOR Commercial Meat Grinder, 550LB/h 1100W Electric Meat Mincer, ETL Approved Heavy Duty Industrial Meat Mincer Machine |
|
| 10 | Electric Meat Grinder, Sausage Stuffer with 3 Sausage Tubes, 2 Blades, 3 Plates, 3200W Max, Meat Grinder Heavy Duty for Home Kitchen Use, Stainless Steel (Black) |
|
Beyond Kubbe: Creative Uses for Your Attachment
Think outside the box! This attachment is a creator’s dream. Here are a few ideas to get you started:
- Stuffed Sausages: Create hollow sausage casings that you can then pipe a cheese or jalapeño filling into before cooking.
- Italian Cannelloni or Manicotti: Make fresh pasta dough and extrude perfect tubes, ready to be stuffed with ricotta and spinach.
- Vegetarian and Vegan Delights: Who says it’s just for meat? Use a mixture of mashed potatoes, lentils, or chickpeas to create shells and fill them with spiced vegetables or vegan cheese.
- Gnocchi-Style Dumplings: You can create long ropes of potato gnocchi dough, then cut them into bite-sized pieces.
A Step-by-Step Guide to Using Your Kubbe Attachment
Ready to give it a whirl? I remember the first time I used mine; I was a bit intimidated, but following a few simple steps made all the difference. Here’s a no-fuss guide to get you started on the right foot.
- Chill Everything: This is the most important tip. Your meat grinder parts, the kubbe attachment, and especially your meat mixture should be very cold. This prevents the fat from smearing and helps the shells hold their shape. Pop the grinder head and attachment in the freezer for 30 minutes before you start.
- Prepare Your Mixtures: Make your outer shell mixture and your inner filling separately. Keep them both chilled until you’re ready to go.
- Assemble the Grinder: Attach the grinder head to your machine. Insert the auger (the screw). Do not insert the blade or a grinding plate.
- Attach the Kubbe Maker: Place the cone-shaped part of the attachment on the end of the grinder head, followed by the outer ring. Screw the ring on snugly, but don’t overtighten it.
- Start Extruding: Place a tray or plate under the attachment. Turn the grinder on a low to medium speed and begin feeding your shell mixture into the hopper. Use the food pusher to gently guide it down.
- Form the Shells: After a moment, a hollow tube will begin to emerge. Let it run for a few inches until it looks uniform.
- Cut and Fill: Use a knife or your fingers to cut the tube into 3-4 inch segments. As one is being cut, the machine is already starting the next one.
- Seal and Shape: Pinch one end of a segment closed. Use a small spoon or your fingers to add about a tablespoon of filling. Be careful not to overfill! Then, pinch the other end closed, shaping it into a football or torpedo shape as you go.
- Repeat! Continue the process until all your mixture is used up. You can cook your kubbe immediately (usually by deep-frying) or freeze them for later.
Expert Tip from Chef David Wilson: “The key to a perfect kubbe shell that doesn’t fall apart is moisture control. If your mixture is too wet, the shells will be weak. Too dry, and they will crack. It should feel like pliable clay. If it’s sticky, add a bit more bulgur or flour; if it’s crumbly, add a teaspoon of ice water at a time until it comes together.”
How to Clean and Care for Your Kubbe Attachment
Proper cleaning is non-negotiable for food safety and the longevity of your equipment. Luckily, since a kubbe attachment is usually made of plastic, it’s quite easy to clean.
- Disassemble Immediately: Don’t let food dry on the attachment. As soon as you’re done, unscrew the ring and separate the two pieces.
- Hand Wash: Use warm, soapy water and a bottle brush or small scrub brush to clean out any residue from inside the cone and ring.
- Check for Dishwasher Safety: Most plastic attachments are top-rack dishwasher safe, but always check your manufacturer’s instructions first. High heat can sometimes warp plastic.
- Dry Completely: Whether you hand wash or use a dishwasher, make sure the parts are 100% dry before storing them to prevent any mildew or unpleasant odors.
Frequently Asked Questions (FAQ)
Q: What is the difference between a kubbe attachment and a sausage stuffer?
A: A sausage stuffer is a simple funnel or tube that guides ground meat into a sausage casing. A what is a kubbe attachment is a more complex, two-part tool specifically designed to create a hollow tube out of the meat mixture itself, which then acts as the casing for a filling.
Q: My kubbe shells are cracking and breaking. What am I doing wrong?
A: This is usually due to the consistency of your outer shell mixture. It’s likely too dry. Try adding a tiny bit of ice-cold water or olive oil to the mix to make it more pliable. Also, ensure your mixture is very cold, as this helps it hold together.
Q: Can I use a kubbe attachment for vegetarian or vegan recipes?
A: Absolutely! The attachment doesn’t care what it’s extruding. You can make fantastic vegetarian shells from mixtures of potatoes, lentils, chickpeas, or other grains. It’s a great way to make creative, stuffed vegetarian appetizers.
Q: Do all meat grinders come with a kubbe attachment?
A: Not all, but many modern electric meat grinders for home use include one as part of their standard accessory package. If yours didn’t, you can often buy one separately, but be sure to check that it is compatible with your specific make and model of grinder.
Q: Is kibbeh the same thing as kubbe?
A: Yes, they are two different spellings for the same delicious dish. “Kibbeh” is a more common spelling in the Levant (like Lebanon and Syria), while “kubbe” is often used in other parts of the Middle East. Both refer to the torpedo-shaped, stuffed croquette.
Your Culinary Adventure Awaits
So, the next time you unbox a new meat grinder and see that strange plastic cone, you won’t have to wonder what is a kubbe attachment. You’ll know it’s not just a spare part; it’s an invitation. It’s a tool that empowers you to move beyond simple burgers and sausages and venture into a world of stuffed, savory delights. It’s a bridge to authentic world cuisines and a blank canvas for your own creative concoctions.
Don’t let it sit in the box. Take it out, give it a try, and unlock a new dimension of what your meat grinder—and you—can do. Your taste buds will thank you for it.