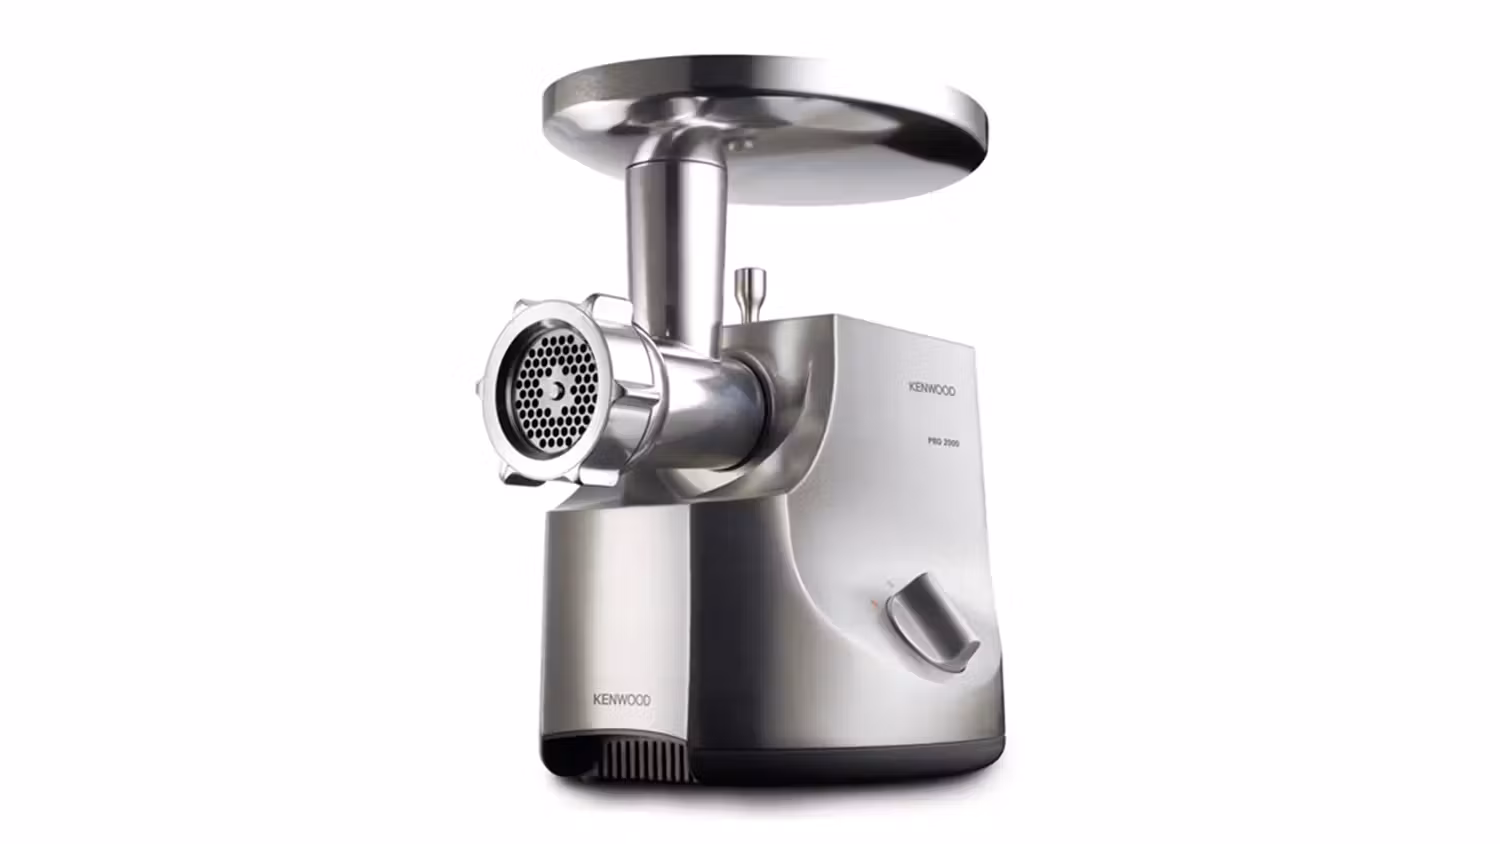
There’s nothing quite like the taste of freshly ground meat. It’s the secret behind the juiciest burgers, the most flavorful sausages, and the heartiest meatballs. But there’s a silent killer lurking in your kitchen that can bring your culinary adventures to a screeching halt: rust. Learning How To Prevent Rust On Meat Grinder Parts is not just about maintenance; it’s about protecting your investment and ensuring the safety and quality of your food. I remember the first time I saw those dreaded orange spots on my beautiful grinder plate—it was a lesson I learned the hard way so you don’t have to.
Let’s face it, a rusty meat grinder is more than just an eyesore. It’s a sign of improper care that can weaken the metal, affect the performance of your machine, and even contaminate your food. The good news? Preventing rust is incredibly simple. It just requires a little know-how and a consistent routine. Forget everything you thought you knew about washing kitchen tools; your meat grinder plays by a different set of rules.
Why Rust is the Arch-Nemesis of Your Meat Grinder
Before we dive into the “how,” let’s quickly cover the “why.” Why is rust such a big deal for a piece of heavy-duty equipment like a meat grinder?
- Food Safety: Rust particles can flake off and mix with your food. While ingesting a tiny amount is unlikely to be harmful, it’s certainly not something you want in your family’s dinner.
- Performance Degradation: Rust creates a rough, pitted surface. This increases friction, making it harder for the auger to push meat through the grinder plate. It can dull your blades and plates, leading to smearing instead of a clean grind.
- Permanent Damage: If left unchecked, rust will eat away at the metal, permanently damaging the components. A once-perfectly-machined grinder plate can become uneven, ruining the quality of your grind. Replacing these parts can be costly and frustrating.
Understanding Your Grinder’s Materials: The Root of the Rust Problem
The primary reason meat grinder parts rust is due to their material composition, typically cast iron or, less commonly, carbon steel. While many modern grinders feature stainless steel components, a vast number of high-quality and traditional models still rely on cast iron for its durability and heft.
Cast Iron vs. Stainless Steel
Cast Iron: This is the most common material for traditional and heavy-duty grinder parts like the head, auger, plates, and blade. It’s incredibly strong but also highly susceptible to rust. Iron reacts with oxygen and water in a process called oxidation, creating iron oxide—what we know as rust.
Stainless Steel: This alloy contains chromium, which creates a passive, rust-resistant layer on the surface. It’s an excellent material and much more forgiving. However, it’s not completely rust-proof. High-carbon stainless steel, often used for blades and plates to hold a sharp edge, can still develop surface rust if neglected.
The bottom line is, regardless of your grinder’s material, you need a solid cleaning and storage routine. For cast iron, it’s non-negotiable. For stainless steel, it’s a best practice that ensures longevity.
The Ultimate Guide: How to Prevent Rust on Meat Grinder Parts Step-by-Step
Here is the foolproof method that will keep your grinder parts looking and performing like new for years to come. This process should begin the moment you finish grinding. Do not let the parts sit in the sink.
- Disassemble Immediately: As soon as you’re done, unplug the machine (if electric) and completely disassemble all the parts that came into contact with meat: the tray, head, auger, blade, plate, and retaining ring.
- Hand Wash ONLY: This is the single most important rule. Never, ever put your grinder parts in the dishwasher. The combination of harsh detergents, prolonged high heat, and the long, wet cycle is a guaranteed recipe for a rust disaster.
- Use Warm, Soapy Water: Wash each component by hand in the sink using warm water and a mild dish soap. The goal is to remove all the meat residue and fat. A bottle brush or a dedicated stiff-bristle brush is your best friend here, especially for cleaning out the holes in the grinder plate and the inside of the grinder head.
- Rinse Thoroughly: Once clean, rinse every part with hot water to remove any soap residue. The hot water also helps the metal heat up slightly, which will aid in the next, most crucial step.
- DRY Immediately and Completely: This is where most people go wrong. Do not let your parts air dry on a rack. Water is the enemy. Use a clean, absorbent dish towel to dry every single nook and cranny of each part. For cast iron components, I recommend going a step further:
- Place the dry parts on a baking sheet and put them in a preheated oven at 200°F (about 95°C) for 10-15 minutes. This ensures every last molecule of moisture is evaporated.
- Alternatively, you can use a hairdryer to blast hot air into all the crevices.
- Season with a Food-Grade Oil: This is the secret pro-level step. Just like a cast-iron skillet, your grinder parts need a protective barrier against moisture in the air.
- Apply a thin coat of food-grade mineral oil to all metal surfaces. You can also use fractionated coconut oil or even vegetable shortening.
- Use a paper towel to wipe the oil on, ensuring a light, even coating. Then, use a clean paper towel to wipe off any excess. You want a protective sheen, not a greasy mess.
Expert Tip from Chef David Wilson: “Think of your cast iron grinder parts like a cast iron skillet. You wouldn’t put it in the dishwasher and let it air dry. Give it the same respect, and it will last you a lifetime. A little bit of oil after drying is the best insurance policy you can have against rust.”
How Should I Store My Meat Grinder Parts?
Proper storage is the final piece of the puzzle in how to prevent rust on meat grinder parts. After cleaning, drying, and oiling, you need to protect them from ambient humidity.
- The Rice Trick: Place the coated parts in a large, airtight ziplock bag or a plastic container. Add a handful of uncooked rice or a few food-safe silica gel packets (the kind you find in jerky or vitamin bottles). These will act as a desiccant, absorbing any moisture that gets inside.
- Keep Them Together: Store all the parts together so nothing gets lost. Some people even reassemble the grinder head (loosely) before storing it.
What If My Parts Are Already Rusted?
Did you find this article a little too late? Don’t panic. For light surface rust, you can often salvage the parts.
- Vinegar Soak: Submerge the rusty parts in a 50/50 solution of white vinegar and water. Let them soak for about an hour (don’t leave them overnight, as the acid can start to pit the metal).
- Scrub Away: After soaking, use a stiff brush or a piece of steel wool to scrub the rust off. It should come off relatively easily.
- Neutralize: Rinse the parts thoroughly with water and then wash with baking soda and water to neutralize the acid from the vinegar.
- Start Over: Once the rust is gone, rinse and immediately begin the full cleaning and seasoning process detailed above (steps 4-6). Your parts will be saved and protected from future rust.
Frequently Asked Questions (FAQ)
Q: Can I put stainless steel meat grinder parts in the dishwasher?
A: While they are more rust-resistant, it is still not recommended. Dishwasher detergents can be abrasive, and high-carbon stainless steel used for cutting blades and plates can still develop rust spots if not dried properly. Hand washing is always the safest bet.
Q: What is the best oil for seasoning my meat grinder parts?
A: Food-grade mineral oil is the top choice because it will not go rancid over time. Fractionated coconut oil is another excellent, stable option. In a pinch, vegetable shortening or lard will work, but they can potentially go rancid during long-term storage.
Q: How often should I season my grinder parts?
A: You should apply a light coat of oil after every single use and wash. This quick, 30-second step is the key to a lifetime of rust-free grinding.
Q: Is a little bit of rust on my grinder dangerous?
A: A small spot of surface rust is unlikely to cause harm, but it’s a sign of a bigger problem. It can harbor bacteria, affect the taste of your food, and will only get worse over time. It’s best to remove it immediately and correct your cleaning and storage routine.
Q: Why did my brand new cast iron grinder rust after the first use?
A: Most new cast iron grinders come with a protective food-grade coating from the factory. When you washed it for the first time, you likely removed this coating. If you did not dry it completely and apply a new coating of oil, rust can form in a matter of hours.
Your Grinder’s Best Friend: A Simple Routine
Mastering how to prevent rust on meat grinder parts transforms a chore into a simple, satisfying ritual. By following the simple sequence of Wash, Dry, Oil, and Store, you’re not just cleaning a tool; you’re preserving a tradition of fresh, homemade food. You’re ensuring that every time you decide to make burgers or sausages, your trusted grinder is ready for action, free of rust and performing at its peak. So go ahead, grind with confidence, and enjoy the delicious results of a well-cared-for machine.