Ever had that moment of pure excitement, picturing the perfect, juicy burger made from your own freshly ground meat, only to end up with a mushy, unappetizing paste? You’re not alone. Many home cooks run into a few Common Meat Grinding Mistakes that can turn a culinary dream into a frustrating mess. But here’s the good news: they are all incredibly easy to fix. Grinding meat at home is a game-changer, giving you unparalleled control over flavor, texture, and quality. Let’s dive in and turn you into the meat grinding pro you were meant to be.
Mistake 1: Not Chilling Your Meat and Equipment
This is, without a doubt, the number one rule of meat grinding. If you take away only one thing from this article, let it be this: cold is your best friend.
When meat is at room temperature, the fat becomes soft and smeary. Instead of being cut into distinct, flavorful little bits, it gets rendered and smeared throughout the meat by the pressure and friction of the grinder. This process creates that dreaded pasty texture and can clog your machine in a heartbeat.
The Pro Solution: Embrace the Chill
- Prep the Meat: Cut your meat into one-inch cubes. Spread them in a single layer on a baking sheet lined with parchment paper.
- Freeze the Meat: Place the baking sheet in the freezer for about 15-20 minutes. You want the meat to be very firm and stiff on the outside, but not frozen solid.
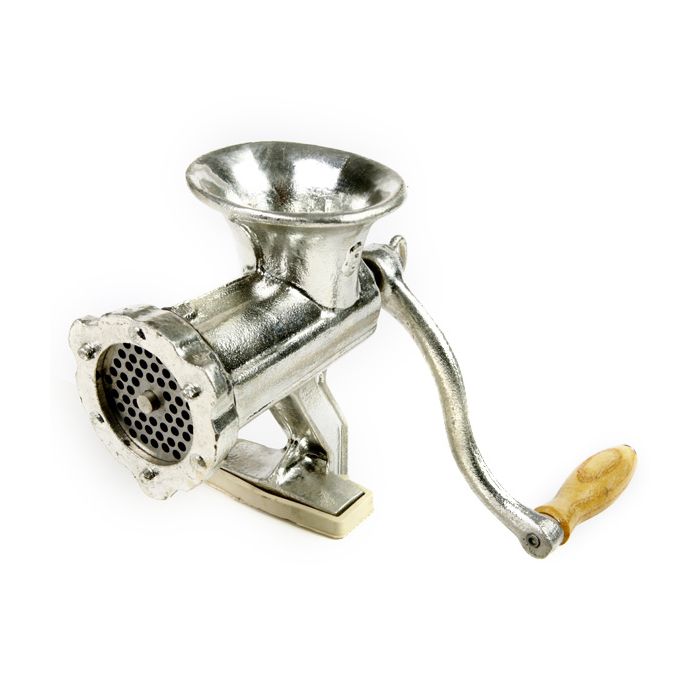
- Chill the Grinder Parts: While the meat is chilling, place all the metal parts of your grinder that will touch the meat—the auger, blade, grinding plate, and the head assembly—in the freezer as well. A chilled machine prevents the meat from warming up as it passes through.
Think of it this way: you’re trying to chop cold, firm butter into a pastry dough. If the butter is warm, it just melts and smears. The same principle applies here. Keeping everything ice-cold ensures clean cuts and a perfect texture.
Mistake 2: Using the Wrong Cuts or Ratios of Meat
Not all meat is created equal, especially when it comes to grinding. Grabbing the leanest, most expensive cut of steak might seem like a good idea, but for grinding, fat is flavor and texture. Without enough fat, your burgers will be dry, your meatballs will be tough, and your sausage will be crumbly.
Similarly, just using pre-cut “stew meat” can be a gamble. It often contains a lot of connective tissue that can cause problems, which brings us to our next point.
What is the best meat-to-fat ratio for grinding?
For most applications like burgers and sausages, a ratio of 80% lean meat to 20% fat is the gold standard. This provides enough fat to keep the final product juicy and flavorful without being greasy. For leaner sausages or specific recipes, you might go down to 15%, but I wouldn’t recommend going much lower for your first few attempts.
Great cuts for grinding:
- Beef: Chuck roast, brisket point, and short ribs are fantastic choices. They have a great fat content and deep, beefy flavor.
- Pork: Pork shoulder (or Boston butt) is the undisputed king. It has the ideal fat-to-meat ratio right off the bone.
- Chicken/Turkey: Use a mix of dark meat (thighs) and a little bit of the breast meat. Don’t forget to include the skin for fat and flavor!
Mistake 3: Forgetting to Trim Sinew and Silver Skin
You’ve picked the perfect cut of meat. You’ve chilled it perfectly. You start feeding it into your grinder and then… chug, chug, chug… stop. The motor is straining, and nothing is coming out. The culprit? Most likely, it’s sinew.
Sinew and silver skin are the tough, fibrous connective tissues in meat. Unlike fat, which breaks down, these tissues are incredibly tough. When they go into a grinder, they don’t get cut; they wrap themselves around the auger and blade, creating a nasty clog. It’s like trying to feed a rope into a paper shredder.
Expert Tip from Appliance Expert Sarah Jenkins: “Take five extra minutes to prep your meat properly. Use a sharp, thin boning knife to trim away any thick, rubbery sinew or the shimmering silver skin. It’s the single most effective thing you can do to prevent clogs and ensure a smooth grind.”
Mistake 4: Forcing the Meat into the Grinder
It’s tempting to use the food pusher like a plunger, trying to force the meat through as quickly as possible. This is one of the most counter-intuitive common meat grinding mistakes.
Your meat grinder is designed to pull the meat in with the auger (the corkscrew-like part). Your job is simply to feed the cubes into the hopper. Pushing too hard and too fast does a few negative things:
- It overloads the auger and motor.
- It compresses the meat, contributing to a pasty texture.
- It increases friction, which warms up the meat (undoing all your hard chilling work).
Let the machine set the pace. Gently drop the meat cubes in and use the pusher only to guide them down toward the auger. Patience here will pay off with a much better texture.
Mistake 5: Using a Dull Blade and Grinding Plate
Your meat grinder is a cutting tool. And just like a chef’s knife, it works best when it’s sharp. A dull blade and plate will smash and tear the meat instead of slicing it cleanly. This is another primary cause of that undesirable mushy texture.
How can you tell if your grinder blade is dull?
If you’ve followed all the other steps (chilling, trimming) and your meat is still coming out looking smeared rather than like distinct strands, it’s a good sign your blade and plate need attention. Over time, with regular use, they will naturally lose their edge.
Many high-quality blades and plates can be sharpened, but it’s often easier and more effective to simply buy a replacement set. They aren’t terribly expensive and make a world of difference. Always buy them as a matched set, as they are designed to work together with perfectly flat surfaces.
For a deeper dive, check out our guide on choosing the right grinder for your kitchen.
Mistake 6: Not Doing a Double Grind for a Finer Texture
Are you making sausage or an emulsified meatloaf? A single pass through a coarse grinding plate might leave you with a texture that’s too chunky. For a finer, more uniform consistency, a second grind is essential.
- First Grind: Pass your chilled meat and fat through a coarse grinding plate (e.g., 10mm or 3/8″).
- Chill Again: Spread the coarsely ground meat on a chilled baking sheet and pop it back in the freezer for another 10-15 minutes. This is a non-negotiable step! The first grind generates friction and warms the meat.
- Second Grind: Switch to a finer plate (e.g., 4.5mm or 3/16″) and pass the chilled ground meat through the grinder a second time.
This two-step process is the secret to professional-quality sausage and burgers that hold together perfectly. It’s a little extra work, but the results are worth it.
Mistake 7: Improper or Delayed Cleaning
Okay, the grinding is done, and you’re ready to cook. The last thing you want to do is clean a machine full of raw meat and fat residue. But delaying the cleanup is a huge mistake.
Once the fat and meat particles start to dry, they become like cement, making the grinder incredibly difficult to clean. More importantly, it becomes a breeding ground for bacteria.
How do you properly clean a meat grinder?
A clean grinder is a safe and efficient grinder. Follow these steps immediately after you’re finished grinding.
- The Bread Trick: Run a few pieces of stale bread through the grinder. This helps push out the last bits of meat and fat, making disassembly and cleaning much easier.
- Disassemble Completely: Take the entire head assembly apart.
- Wash and Scrub: Wash all parts in hot, soapy water. Use a bottle brush to get inside the head and clean out the crevices of the auger and plates. Never put grinder parts in the dishwasher unless the manufacturer explicitly says it’s safe. The harsh detergents can damage the metal finish.
- Rinse and Sanitize: Rinse thoroughly with hot water. For extra peace of mind, you can briefly soak the parts in a mild sanitizing solution (like a water/vinegar mix).
- Dry Immediately and Thoroughly: This is critical, especially for carbon steel parts, which will rust almost instantly. Towel-dry every single piece completely.
- Store Properly: To prevent rust, some people lightly coat their carbon steel plates and blades with food-grade mineral oil before storing.
Frequently Asked Questions (FAQ)
Q: Can I grind frozen meat?
A: You should not grind meat that is frozen solid. It puts immense strain on your grinder’s motor and can cause serious damage. The meat should be very firm and partially frozen on the surface, but still pliable.
Q: Why is my ground meat turning gray?
A: Graying is usually due to oxidation—exposure to air. It’s a natural process. However, if it’s accompanied by a slimy feel or off-smell, the meat has spoiled. Smearing fat from grinding warm meat can also give it a grayish, pasty appearance.
Q: What is the difference between a coarse and fine grind?
A: A coarse grind (using a plate with larger holes) is great for things like chili or rustic sausages where you want a chunkier texture. A fine grind (using a plate with smaller holes) is better for smooth sausages, pâtés, and burgers that bind together well.
Q: Can I re-grind store-bought ground meat?
A: It’s generally not recommended. You don’t know how long it has been ground or how it was handled, and passing it through your grinder again increases the risk of bacterial growth. The beauty of grinding your own is starting with fresh, whole muscle cuts.
Q: Do I really need to chill the equipment too?
A: Yes, absolutely. A room-temperature metal grinder head will instantly start warming up your perfectly chilled meat the moment it makes contact. Chilling the equipment is just as important as chilling the meat for avoiding those common meat grinding mistakes.
Your Path to Grinding Perfection
Grinding your own meat is one of the most rewarding kitchen skills you can master. It opens up a new world of flavor, from custom burger blends to artisanal homemade sausages. By understanding and avoiding these common meat grinding mistakes, you’re not just making better food; you’re taking control of your ingredients and elevating your cooking. So chill your meat, sharpen your blades, and get ready to enjoy the best ground meat of your life. What will you be making first?