Ever unboxed a shiny new kitchen gadget, buzzing with excitement for the culinary adventures ahead, only to be met with a puzzling collection of metal parts? If you’re staring at your new appliance wondering How To Assemble A Meat Grinder, take a deep breath. You’re in the right place. It might look like a complex piece of machinery, but putting it together is surprisingly straightforward once you understand what each part does. Forget the bland, pre-packaged ground meat from the store; we’re about to unlock a world of flavor, texture, and freshness right in your kitchen. This guide will turn that box of parts into your new favorite tool.
Why Proper Assembly is Your First Step to Grinding Glory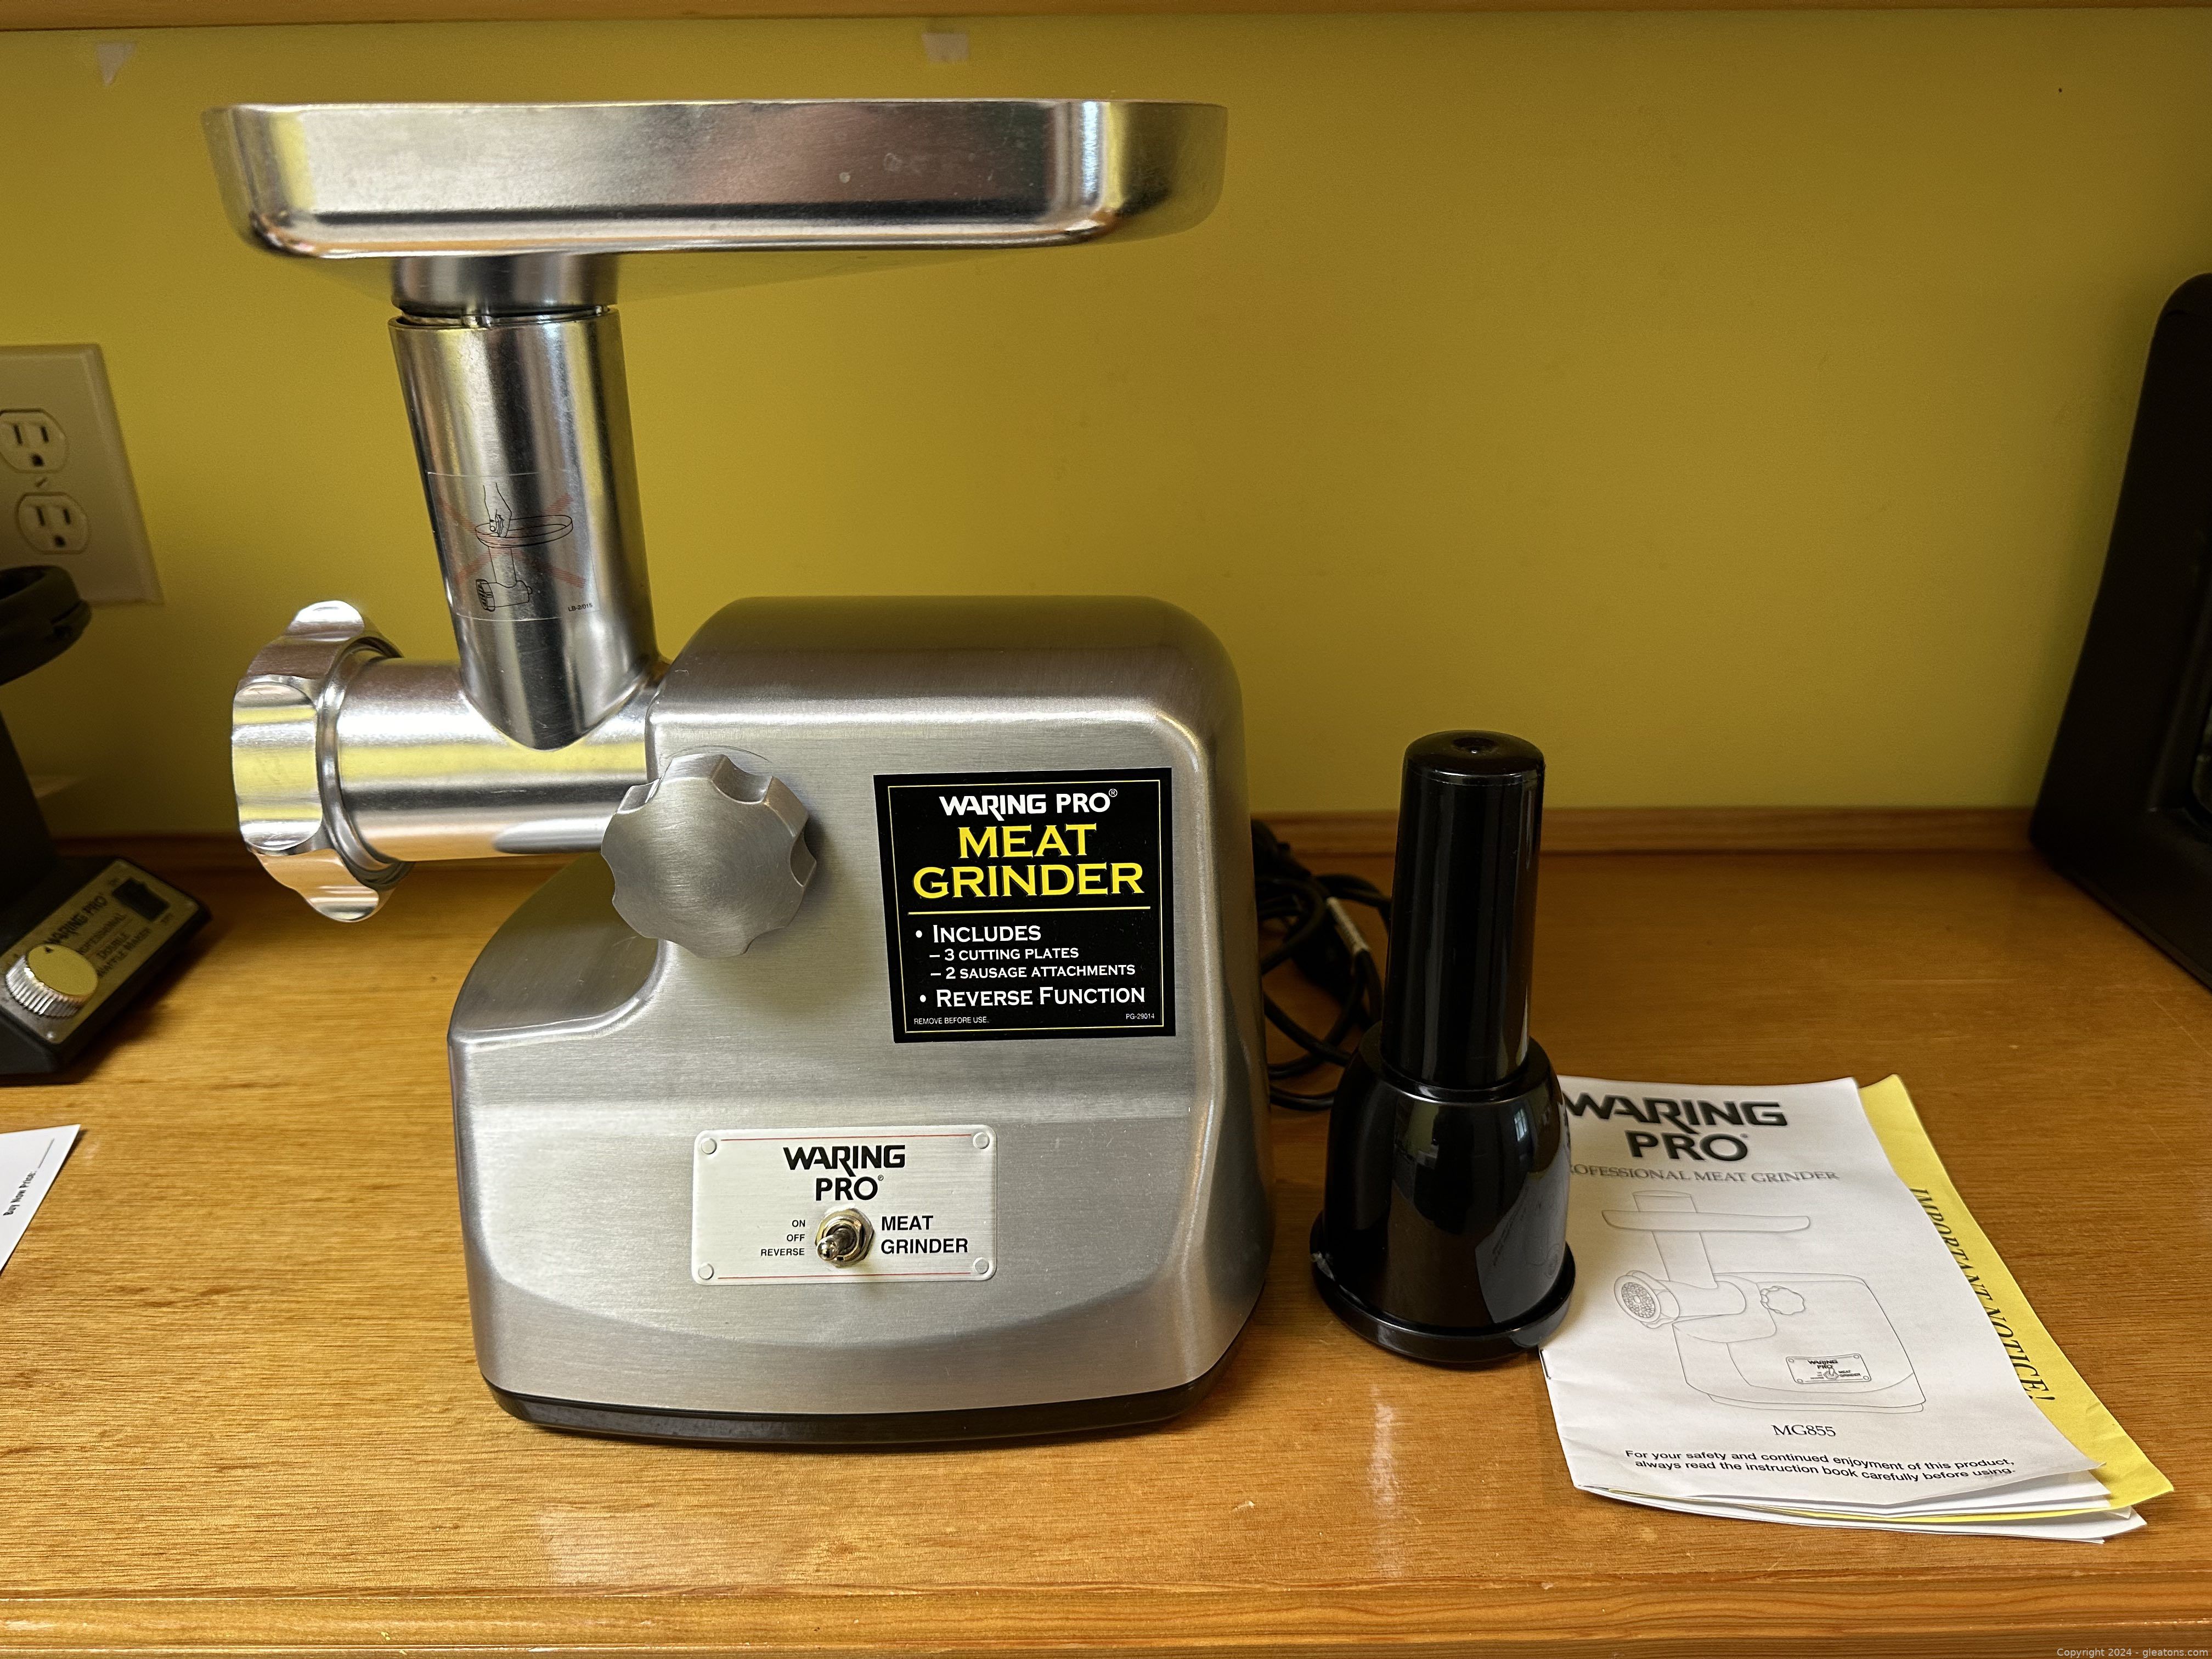
Before we dive into the nuts and bolts, let’s talk about why getting this right is so important. Assembling your meat grinder correctly isn’t just about making it work; it’s about safety, efficiency, and the quality of your final product. A poorly assembled grinder can clog easily, damage the motor (on electric models), or even pose a safety risk. On the other hand, a perfectly assembled grinder works like a dream, turning tough cuts of meat into flawless ground beef, pork, or chicken with minimal effort. Think of it as the foundation of every great burger, meatball, or sausage you’ll ever make.
|
Our Picks for the Best Meat Grinder in 2026
As an Amazon Associate, we earn from qualifying purchases.
|
||
| Num | Product | Action |
|---|---|---|
| 1 | LEM Products BigBite #8 Meat Grinder, 0.50 HP Stainless Steel Electric Meat Grinder Machine, Ideal for Regular Use |

|
| 2 | Commercial Meat Grinder #12,0.9HP Electric Meat Mincer,Heavy Duty Stainless Steel Industrial Meat Mincer w/2 Blades & Meat Pusher,Food Grinders Machine for Home Kitchen Regular Use |
|
| 3 | MEAT! 1.5 HP Meat Grinder with 3 Stuffing Tubes, 2 Stainless Steel Grinding Plates, and a Stainless Steel Stuffing Plate for Making Ground Meat |
|
| 4 | AAOBOSI Meat Grinder Electric 3000W Max with Touch Color Screen, Auto-Reverse & Built-in Storage - 3 Speed Settings,Grinding, Sausage & Kibbe Making for Home Use, Stainless Steel |
|
| 5 | Electric Meat Grinder, Sausage Stuffer with 3 Sausage Tubes, 2 Blades, 3 Plates, 3200W Max, Meat Grinder Heavy Duty for Home Kitchen Use, Stainless Steel (Black) |
|
| 6 | Weston Pro Series Electric Meat Grinder 7 Sausage Stuffer, Commercial Grade, 1500 Watts, 2 HP, 21lbs. Per Minute, Heavy Duty Stainless Steel (10-3201-W) |
|
| 7 | LEM Products BigBite #22 Meat Grinder, 1.0 HP Stainless Steel Electric Meat Grinder Machine, Ideal for Heavy Use |
|
| 8 | VEVOR Commercial Meat Grinder, 550LB/h 1100W Electric Meat Mincer, ETL Approved Heavy Duty Industrial Meat Mincer Machine |
|
| 9 | STX International Turboforce II 4000 Electric Meat Grinder | Grinds Soft Bones | Foot Pedal | 6 Grinding Plates | Stainless Steel Blades | Sausage Tubes | Kubbe Maker | Meat Claws | Patty Press & More |
|
| 10 | MEAT! 1.5 HP Meat Grinder with 3 Stuffing Tubes, 2 Stainless Steel Grinding Plates, and a Stainless Steel Stuffing Plate for Making Ground Meat |
|
Getting to Know Your Grinder: The Cast of Characters
Whether you have a classic manual grinder that clamps to your countertop or a powerful electric model, the core grinding components are virtually identical. Let’s meet the key players.
The Main Components
- The Housing/Body: This is the main chassis of the grinder. On an electric model, it contains the motor. On a manual one, it’s the part that clamps to the table and has the hand crank.
- The Hopper/Tray: This is the tray that sits on top where you’ll place your cubes of meat before pushing them into the grinder.
- The Auger (or Feed Screw): This is the long, corkscrew-shaped piece that fits inside the housing. Its job is to grab the meat from the hopper and push it forward toward the blade. It’s the muscle of the operation.
- The Blade: This is a small, star-shaped piece with four sharp edges. It sits on the end of the auger and does the actual cutting. This is the most critical part to install correctly.
- The Grinding Plate (or Die): This is a round, flat metal disc with holes in it. It sits directly in front of the blade. The size of the holes determines how coarse or fine your grind will be. Most grinders come with at least two: a coarse plate and a fine plate.
- The Ring/Cap: This is a threaded ring that screws onto the end of the housing to hold the plate and blade securely in place.
- The Stomper/Pusher: A plastic or wooden tool used to safely push the meat down into the grinder’s opening. Never use your fingers!
The Main Event: How to Assemble a Meat Grinder Step-by-Step
Alright, let’s get this show on the road. Grab your parts, and let’s build this thing. The process is the same for 99% of electric and manual grinders.
- Start with the Housing: Place the main body of the grinder on a stable surface. If it’s an electric model, ensure it is unplugged. This is non-negotiable. Safety first, always.
- Insert the Auger: Take the long, corkscrew-like auger and slide it into the housing, gear-end first. It should slide in easily and nestle into place. Give it a little jiggle to make sure it’s seated correctly.
- Attach the Blade: Now for the most important step. Take the star-shaped blade and place it onto the small square pin at the end of the auger. Here’s the secret: the flat side of the blade must face out, towards you. The curved or slightly indented side should be against the end of the auger. I remember the first time I did this; I put it on backward, and the grinder just mashed the meat into a paste. It was a mess! Get this right, and you’re 90% of the way to a perfect grind.
Expert Tip from Chef David Wilson: “The single biggest mistake beginners make is installing the blade backward. Always remember: flat side out. The blade needs to be pressed flat against the grinding plate to get a clean cut, not a mushy squeeze.”
- Select and Place the Grinding Plate: Choose the grinding plate for your desired texture (coarse for chili, fine for burgers or sausage). You’ll notice a small notch on the edge of the plate. This notch needs to line up with a corresponding pin or cutout on the rim of the grinder housing. This prevents the plate from spinning around. Place the plate over the blade, making sure the notch is correctly aligned.
- Secure the Ring: Take the large ring cap and carefully screw it onto the end of the grinder housing, over the plate. Hand-tighten it until it’s snug. You don’t need to be a bodybuilder here; over-tightening can put too much strain on the motor. Just make sure it’s secure and there’s no wobbling.
- Add the Hopper: Place the metal or plastic hopper tray onto the opening at the top of the housing. It should fit snugly.
- Final Check: If you have a manual grinder, attach the hand crank. For an electric one, you’re now ready to plug it in. Your meat grinder is fully assembled and ready for action!
Pro-Tips for a Flawless Grinding Experience
Now that you know how to assemble a meat grinder, here are a few extra tips to make sure your first grind is a success.
- Chill Everything: This is the ultimate pro tip. Place your grinder’s metal components (auger, blade, plate, ring) and your cubed meat in the freezer for about 30-45 minutes before grinding. Cold meat and cold parts prevent the fat from smearing, which can lead to a pasty texture and clogged machinery.
- Cut Your Meat Correctly: Cut your meat into small, 1-inch cubes that can easily fit down the grinder’s throat.
- Work in Batches: Don’t overload the hopper. Feed the meat into the grinder steadily, using the stomper to gently guide it down. Let the machine do the work.
How to Clean a Meat Grinder After Use?
Proper cleaning is just as important as proper assembly. To clean your meat grinder, you must first disassemble it completely by following the assembly steps in reverse. Wash all parts in hot, soapy water immediately after use. Use a small brush to clean out the holes in the grinding plate. Never put cast iron or carbon steel parts in the dishwasher, as they will rust instantly. Dry every component thoroughly before storing to prevent rust and keep it ready for your next project.
For a neat cleaning trick, try running a few pieces of bread through the grinder after you’re done with the meat. The bread will push out the remaining bits of meat and fat, making cleanup much easier.
Frequently Asked Questions (FAQ)
Q: Why is my meat grinder just mashing the meat instead of grinding it?
A: This is almost always because the blade is installed backward. Disassemble the front end and ensure the flat, cutting side of the blade is facing outward, flush against the grinding plate.
Q: How tight should the ring be?
A: The ring should be hand-tightened until it’s snug. If it’s too loose, the meat will leak out the sides. If it’s too tight, it can create excessive friction and heat, which can damage your meat and strain the motor.
Q: Can I put my meat grinder parts in the dishwasher?
A: It depends on the material. Stainless steel parts are generally dishwasher-safe, but always check your manufacturer’s instructions. Aluminum, cast iron, or carbon steel parts should never go in the dishwasher, as the harsh detergents and high heat will cause them to oxidize, tarnish, or rust. Handwashing is always the safest bet.
Q: What is the difference between the coarse and fine grinding plates?
A: The coarse plate has larger holes and is perfect for making chili meat, chunky sausages, or the first grind of a double-grind process. The fine plate has smaller holes and is ideal for burgers, meatballs, and fine-textured sausages like frankfurters.
Q: My meat grinder is getting clogged. What am I doing wrong?
A: Clogging can be caused by several things: not chilling the meat and parts enough (causing fat to smear), trying to grind meat with too much silver skin or sinew, or feeding the meat into the grinder too quickly. Slow down, make sure everything is very cold, and ensure your meat is well-trimmed.
Your Grinding Journey Begins Now
Congratulations! You’ve moved beyond simply owning a kitchen tool to truly understanding it. Knowing how to assemble a meat grinder is the first, most crucial step in taking control of your food’s quality and flavor. You’re no longer limited to what the grocery store offers. You can create custom blends, control your fat content, and ensure absolute freshness in every bite. So go ahead, assemble your grinder with confidence, and start exploring the incredible world of homemade ground meat. Your taste buds will thank you.