Let’s be real for a moment. You’ve just created the most epic, juicy, custom-blend burgers or sausages from scratch. The kitchen smells incredible, and you’re feeling like a culinary champion. But then you turn around and see it… the grinder. That work of art is now a greasy, meaty mess. Learning How To Clean A Meat Grinder properly can feel like a daunting chore, but trust me, it’s the single most important step in ensuring your food is safe, your machine lasts a lifetime, and your next grind is just as delicious as the last. It’s the difference between being a home cook and a true kitchen pro.
Why Bother? The Critical Importance of a Clean Grinder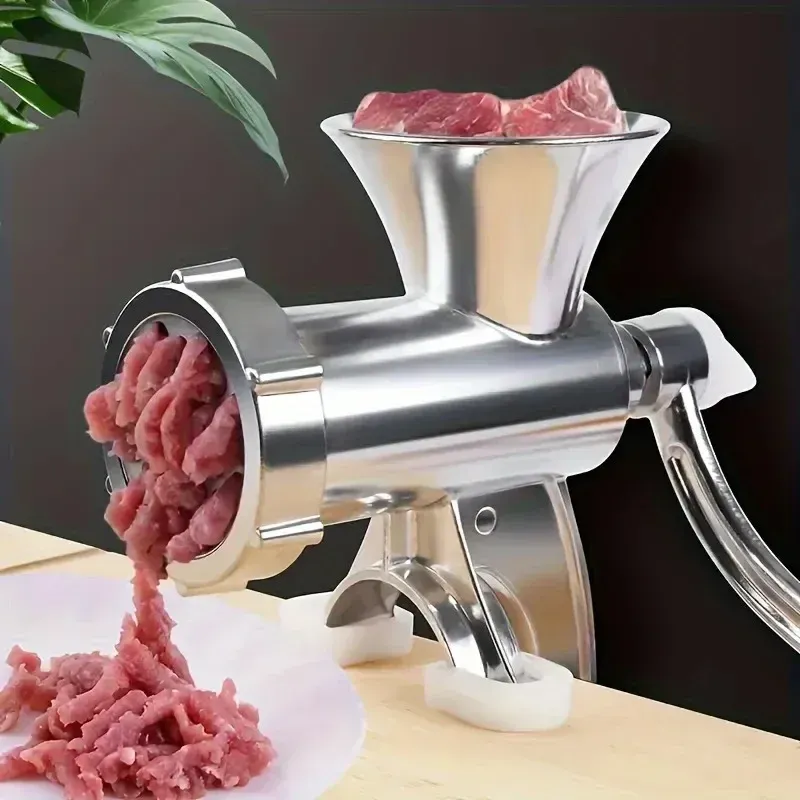
You might be tempted to give it a quick rinse and call it a day, but that’s a one-way ticket to trouble. A poorly cleaned meat grinder isn’t just a bit gross; it’s a genuine health hazard and a death sentence for your machine.
- Food Safety First: Raw meat residue is a breeding ground for nasty bacteria like Salmonella and E. coli. Even tiny particles left behind can contaminate your next batch of food, putting you and your family at risk of foodborne illness. This isn’t something to gamble on.
- Performance and Flavor: Old, rancid fat and meat particles left in the grinder can impart off-flavors to your fresh meat. You went to the trouble of grinding your own for superior taste; don’t let a dirty machine ruin it. A clean auger and sharp plate also ensure a smooth, efficient grind without mashing the meat.
- Machine Longevity: Meat and fat residue can cause corrosion and rust, especially on carbon steel plates and blades. Over time, this buildup can strain the motor on an electric grinder and make a manual one nearly impossible to crank. Proper cleaning is the best maintenance you can perform.
Before You Start: Gathering Your Cleaning Arsenal
Before you dive in, get your battle station ready. Having everything on hand makes the process a breeze. You don’t need much, but the right tools are key.
- A few slices of stale bread (this is my secret weapon, more on this in a bit!)
- Warm, soapy water (a good dish soap is perfect)
- A bottle brush or a dedicated cleaning brush set for grinders
- A sponge or cloth (avoid abrasive scouring pads on most surfaces)
- A large bowl or basin for soaking
- Clean, dry towels or plenty of paper towels
- Food-grade mineral oil or silicone spray for storage
How to Clean a Meat Grinder: The Step-by-Step Breakdown
Alright, let’s get this done. Follow these steps, and your grinder will be sparkling in no time. This process works for both electric and manual models, with just a few minor differences.
Step 1: Unplug and Purge with Bread
Before you do anything else, if you’re using an electric grinder, unplug it from the wall. Safety is non-negotiable.
Now for the magic trick: run a couple of slices of stale bread through the grinder. Seriously! The bread acts like a sponge, pushing out the majority of the leftover meat and fat from the auger, plate, and head. This one simple step will cut your scrubbing time in half.
Step 2: Completely Disassemble the Grinder
Don’t try to clean it while it’s assembled. Carefully take apart all the grinder components. This typically includes:
- The locking ring or cap on the front.
- The grinder plate (the disc with holes).
- The cutting blade (it’s sharp, be careful!).
- The auger (the long, corkscrew-shaped piece).
- The grinder head or body.
- The feeding tray or hopper.
Lay all the parts out on a towel so you don’t lose anything.
Step 3: The Soak and Scrub
Fill your basin or a clean sink with warm, soapy water. Place all the disassembled metal and plastic parts (except the main motor housing, of course) into the water to soak for about 15-20 minutes. This helps loosen any stubborn bits.
After soaking, it’s time to scrub. Use your bottle brush to get inside the grinder head and any other hard-to-reach areas. A smaller brush is perfect for cleaning out the holes in the grinder plate. Make sure you scrub every surface until it’s completely free of residue.
A Word from the Experts: Chef David Wilson, a butcher with over 20 years of experience, advises, “The biggest mistake people make is not being thorough. Pay special attention to the threads on the locking ring and the space behind the auger’s seal. That’s where bacteria love to hide. A five-minute soak makes a world of difference.”
Step 4: Rinse Thoroughly
Rinse each component under hot running water. Make sure to wash away all the soap suds. Any leftover soap can taint the flavor of your meat and isn’t something you want to ingest.
Step 5: Drying is Everything
This is arguably the most crucial step for preventing rust. Do not let the parts air dry. Water is the enemy of metal components, especially cast iron or carbon steel plates and blades.
Use a clean, dry towel to dry each piece meticulously. For extra assurance, you can place the metal parts on a baking sheet in a warm (but turned off) oven for about 10-15 minutes to evaporate any remaining moisture.
Step 6: Sanitize, Reassemble, and Store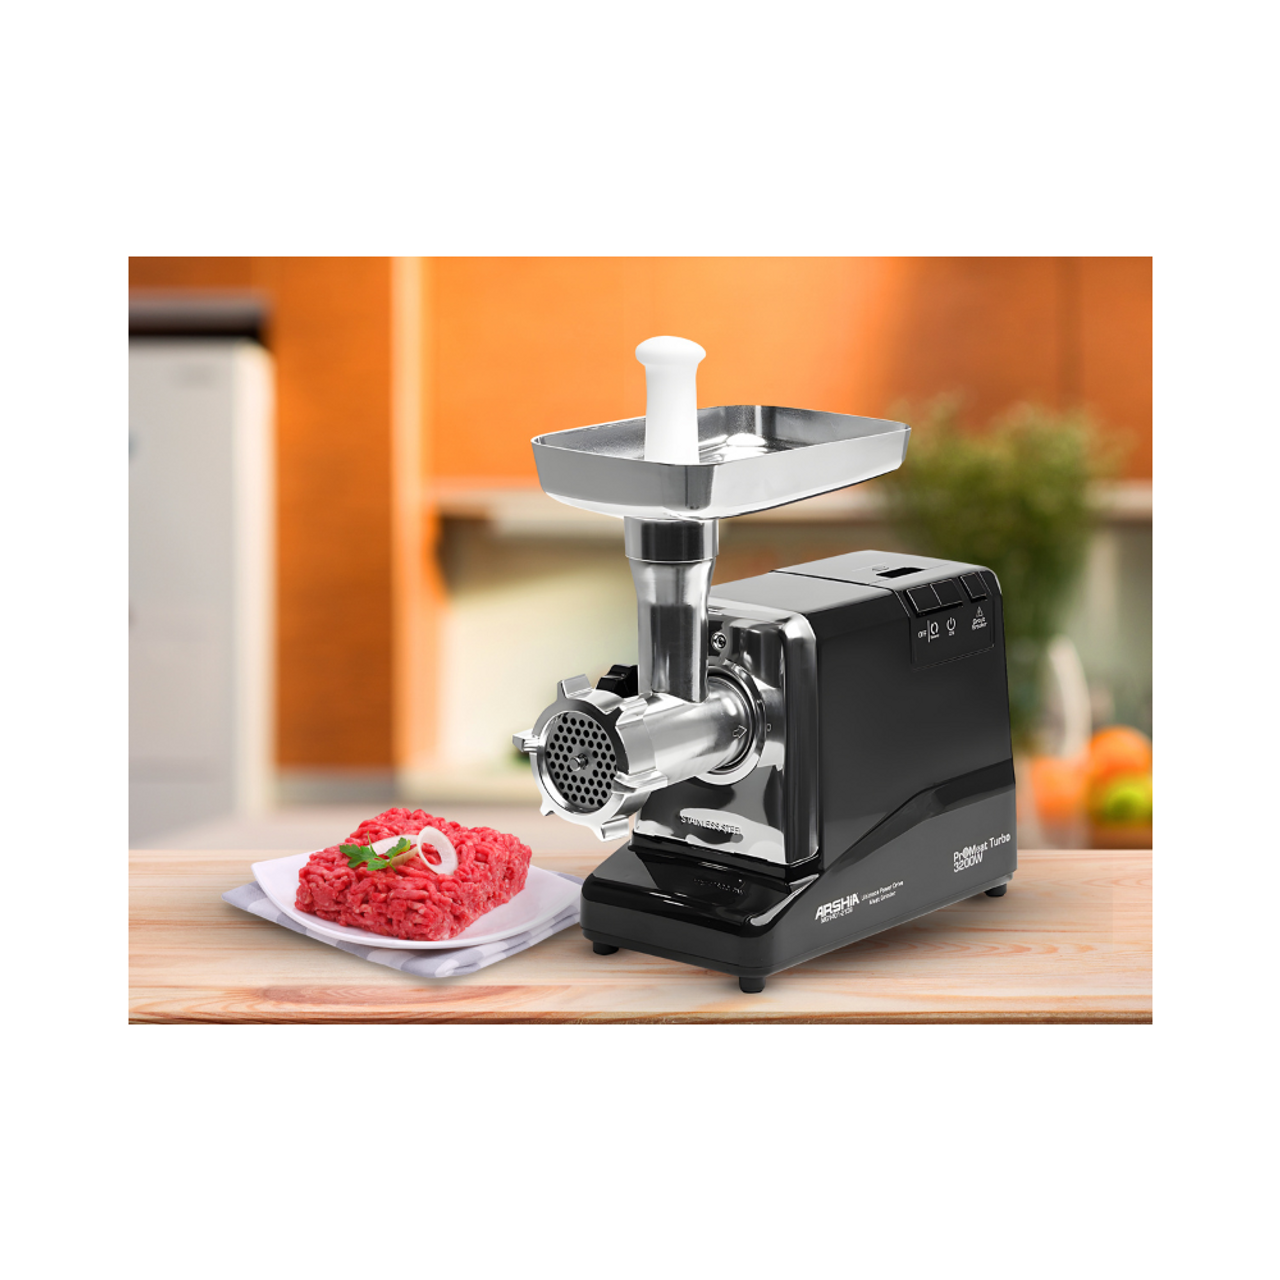
For an extra layer of food safety, you can sanitize the parts. A simple solution of one tablespoon of bleach to one gallon of water works well. Submerge the parts for a few minutes, then rinse thoroughly with cool water and dry them immediately and completely once more.
Before storing, apply a light coating of food-grade mineral oil to all the metal parts. This creates a protective barrier against rust and keeps them lubricated for your next use. Store the parts disassembled in a dry, clean bag or container. This allows for air circulation and prevents any trapped moisture from causing problems.
Common Cleaning Mistakes to Avoid at All Costs
Learning how to clean a meat grinder is also about knowing what not to do. Avoid these common pitfalls:
- Putting Parts in the Dishwasher: Unless your manual explicitly says the parts are dishwasher-safe (and most aren’t), just don’t do it. The harsh detergents and high heat can strip protective coatings, cause discoloration, and promote rust on metal parts.
- Using Abrasive Cleaners or Pads: Steel wool or harsh scouring pads can scratch the surfaces of your grinder, creating tiny crevices where bacteria can hide.
- Letting it Sit Overnight: The longer you wait, the harder it will be to clean. Meat and fat will dry and harden, turning a 15-minute job into an hour-long ordeal. Clean it right after you use it.
- Storing it Wet: This is the number one cause of rust. Even a tiny bit of moisture can lead to a spot of rust that will ruin your plates and blades.
Frequently Asked Questions (FAQ)
Q: Can I put my meat grinder parts in the dishwasher?
A: It is strongly recommended not to, unless the manufacturer’s instructions specifically state they are dishwasher-safe. Most metal components, especially those made of cast iron or coated aluminum, will be damaged by the high heat and harsh detergents, leading to rust and oxidation.
Q: How often should I clean my meat grinder?
A: You must clean your meat grinder thoroughly after every single use. There are no exceptions. Leaving raw meat residue, even for a few hours, poses a significant food safety risk.
Q: What is the black stuff coming from my meat grinder?
A: If you see a black or grey residue, it’s typically oxidized aluminum. This often happens when aluminum parts are washed in a dishwasher or with harsh soaps. While not ideal, it’s generally not harmful, but it’s a sign you should switch to hand-washing and gentler soap.
Q: How do I remove rust from my grinder plates?
A: For light rust, you can scrub the parts with a paste made of baking soda and water or soak them in a 50/50 solution of white vinegar and water for about an hour. After scrubbing or soaking, rinse completely, dry immediately, and re-season with mineral oil. For heavy rust, you may need to replace the parts.
Q: Is it necessary to oil the parts after cleaning?
A: Yes, it is highly recommended. Applying a thin coat of food-grade mineral oil to all metal components after they are completely dry prevents rust and keeps the parts in excellent working condition for your next grinding session.
Your Grinder is Your Partner in the Kitchen
Mastering how to clean a meat grinder transforms it from a tool you dread using into a reliable partner for countless culinary adventures. A clean grinder is a safe grinder, an efficient grinder, and one that will serve you well for years to come. It’s a small investment of time that pays huge dividends in flavor, safety, and peace of mind. Now, go forth and grind with confidence! We’d love to hear your own cleaning tips or favorite recipes in the comments below.