Alright, let’s talk sausage. Picture this: a sizzling, perfectly seasoned sausage patty for breakfast, or a juicy bratwurst fresh off the grill. Now, what if I told you the secret to unlocking next-level flavor and texture has less to do with the recipe and more to do with the pork itself? Learning How To Grind Pork For Sausage at home is, without a doubt, the single biggest game-changer for any aspiring home cook or BBQ enthusiast. Forget the pre-packaged stuff at the grocery store. We’re diving deep into the craft of creating the perfect foundation for your best sausage ever.
Why Bother Grinding Your Own Pork?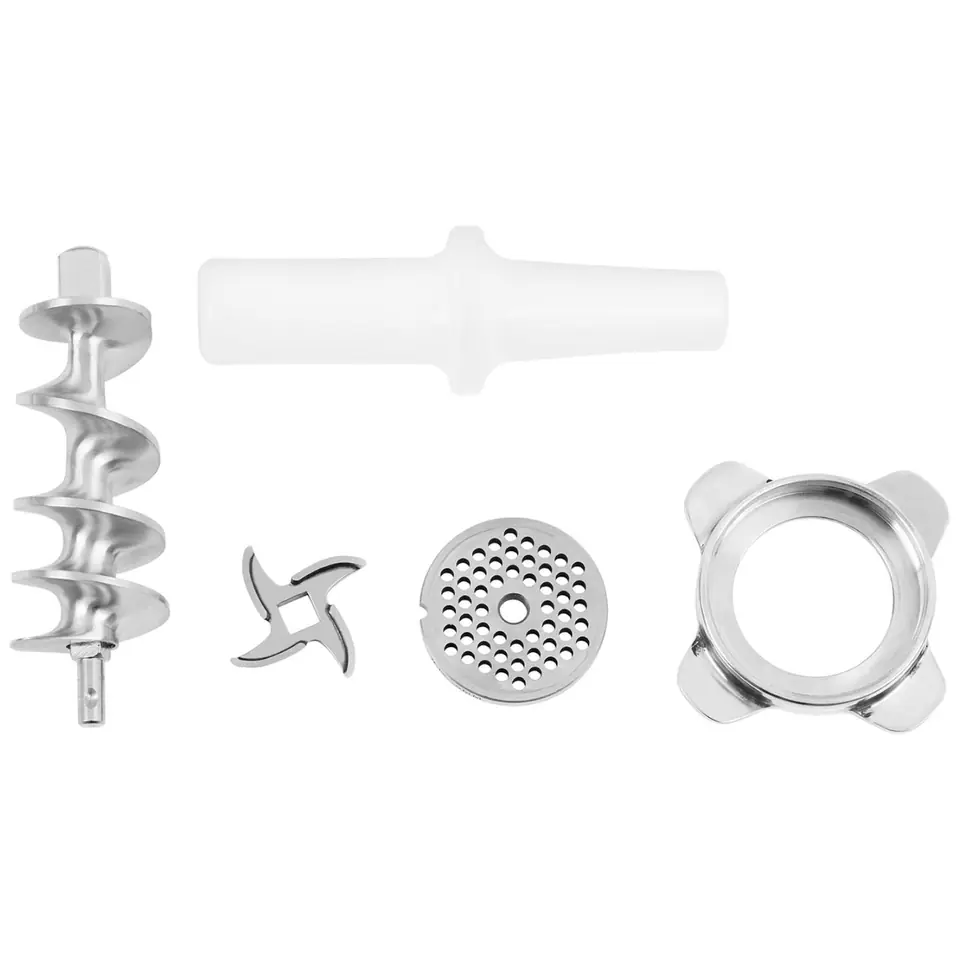
You might be thinking, “Is it really worth the effort?” Absolutely. Let me break it down for you. The first time I ground my own meat, the difference was staggering. It wasn’t just better; it was a completely different food.
- Unbeatable Flavor and Freshness: When you grind your own pork, you control the freshness. The meat hasn’t been sitting in a package oxidizing. The fat is fresh, which means the flavor is cleaner and more pronounced.
- Perfect Texture: Store-bought ground meat is often compressed and overworked, leading to a dense, rubbery texture. Grinding at home allows you to control the coarseness and achieve that light, tender bite that separates good sausage from great sausage.
- Total Control Over Fat Content: The secret to juicy sausage is fat. Period. When you grind your own, you choose the cut of meat and can ensure you hit that magic 25-30% fat ratio. No more dry, disappointing sausages.
- Food Safety and Purity: You know exactly what’s going into your food—just one ingredient: high-quality pork. No fillers, no mysterious additives, no questions about how long it’s been sitting around.
Choosing Your Weapon: The Right Cut of Pork
Before you even think about your grinder, you need to select the right raw material. Don’t just grab any old pork chop. For sausage, you need a cut with a generous amount of both meat and fat.
The undisputed champion for sausage making is pork shoulder, also known as pork butt or Boston butt. It’s an incredibly flavorful and well-marbled cut that naturally sits in that ideal 25-30% fat range. It’s forgiving, affordable, and delivers consistently delicious results. If your shoulder cut looks a bit lean, you can always purchase some additional pork fatback to cube up and mix in.
The Golden Rule: Keeping Everything ICE Cold
If you remember only one thing from this guide, make it this: your meat, your grinder parts, and your mixing bowl must be kept as cold as possible at all times. This is non-negotiable.
Why is this so critical? It’s all about the fat. Warm fat doesn’t grind; it smears. When fat smears, it melts and coats the lean muscle proteins, preventing them from binding together. This results in a greasy, crumbly sausage with a terrible, mushy texture. We call this “fatting out,” and it’s the number one mistake beginners make.
Expert Tip from Chef David Wilson: “I tell my students to treat the grinder attachments—the auger, blade, and plate—like ingredients. Put them in a bowl and stick them in the freezer for at least an hour before you start. A frosty grinder is a happy grinder.”
Gearing Up: Essential Equipment
You don’t need a professional butcher’s shop, but a few key items will make your life much easier.
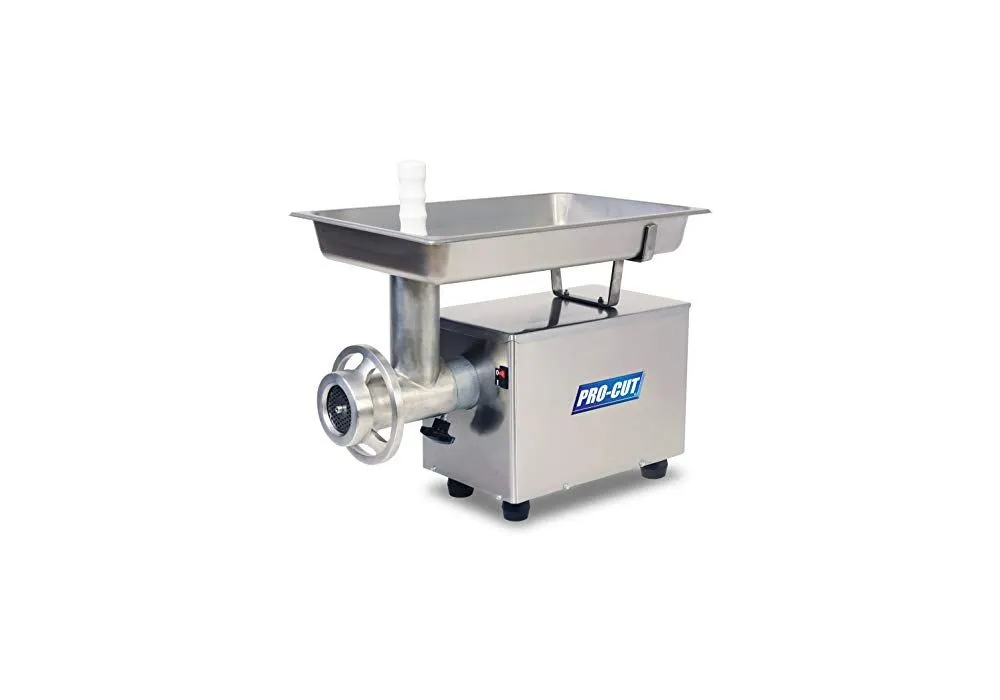
- A Reliable Meat Grinder: This could be a sturdy manual meat grinder or a powerful electric model.
- Grinding Plates: At a minimum, you’ll want a coarse plate (around 10mm or 3/8″) and a fine plate (around 4.5mm or 3/16″).
- A Sharp Knife: For cubing the pork.
- Two Large Bowls: Metal bowls are best as they stay cold longer. One for the cubed pork, one for the ground pork.
- Baking Sheets: Lined with parchment paper, they’re perfect for spreading out the pork cubes to chill in the freezer.
The Main Event: How to Grind Pork for Sausage Step-by-Step
Ready to make magic happen? Let’s walk through the process of how to grind pork for sausage for a texture that’s perfect every time.
- Prep the Meat and Fat. Cut your cold pork shoulder into cubes roughly 1-1.5 inches in size. Make sure every piece has a bit of fat and meat. If you’re adding extra fatback, cube it up as well. Try to keep the cubes uniform so they feed through the grinder evenly.
- The First Chill. Spread the pork cubes in a single layer on a parchment-lined baking sheet. Place the sheet in the freezer for 15-20 minutes. You want the cubes to be very firm on the outside, but not frozen solid. At the same time, make sure your grinder head, auger, blade, plate, and a large mixing bowl are also in the freezer.
- Assemble the Grinder. Retrieve your chilled grinder parts. Attach the coarse grinding plate. Make sure the blade is seated correctly, with the flat side facing out against the plate. This is a common mistake! If the blade is backward, it will smash the meat instead of cutting it.
- The First Grind (Coarse Grind). Place your chilled mixing bowl under the grinder’s spout. Turn the grinder on (or start cranking) and begin feeding the firm pork cubes into the hopper. Don’t force the meat; let the auger do the work. Use the stomper to gently push the meat down. You should see satisfying, worm-like strands of coarsely ground pork emerge. This first grind is crucial for establishing the basic texture.
- The Second Chill (Optional but Recommended). For the best sausage texture, a second grind is often recommended. After the first grind, gently spread the ground pork back onto the chilled baking sheet and return it to the freezer for another 15-20 minutes. This ensures the fat stays solid for the next step.
- The Second Grind (Fine Grind). Swap out the coarse plate for the fine plate on your chilled grinder. Run the once-ground, re-chilled pork through the grinder a second time. This second pass creates a more uniform and traditional sausage texture, helping the fat and lean to bind perfectly. This is the texture you’re looking for when making emulsified sausages like hot dogs or bologna, but it’s also fantastic for breakfast patties.
After the second grind, your pork is ready for seasoning. You can now add your salt, spices, and any liquid, and mix it until it becomes sticky and cohesive—the sign of a perfect sausage bind.
Troubleshooting Common Grinding Goofs
Even the pros run into issues. Here’s how to handle them.
Why is my ground pork mushy and grey?
This is the classic sign of fat smear. Your meat, your grinder, or both were too warm. Unfortunately, there’s no going back from this. For your next batch, make sure everything is practically frozen before you start.
My meat grinder is clogged. What do I do?
This is often caused by sinew or silverskin wrapping around the blade. Stop the grinder immediately. Carefully disassemble the head and clear the obstruction. It can also happen if you try to force meat through too quickly or if the meat is not cold enough.
How do you properly clean your meat grinder?
Proper cleaning is essential for food safety and the longevity of your machine. The best way is to disassemble it completely immediately after use, hand wash all parts with hot, soapy water, and then dry them thoroughly to prevent rust.
Here is a quick cleaning checklist:
- [ ] Unplug the machine (if electric).
- [ ] Disassemble all grinding components (plate, blade, auger, head).
- [ ] Run a few pieces of bread through the grinder to push out any remaining meat scraps.
- [ ] Wash all parts in hot, soapy water with a bottle brush for hard-to-reach areas. Never put grinder parts in the dishwasher.
- [ ] Rinse thoroughly and dry every single piece completely.
- [ ] Lightly coat carbon steel parts with food-grade mineral oil to prevent rust before storing.
Expert Q&A: Your Grinding Questions Answered
We sat down with appliance expert Sarah Jenkins to answer some of your most common questions.
Q: What’s the ideal fat-to-lean ratio for pork sausage?
A: For juicy, flavorful sausage, you should aim for 25-30% fat. Pork shoulder naturally gets you in this ballpark. If you go much leaner, you risk dry sausage.
Q: Can I use partially frozen pork?
A: Yes, and you should! As we discussed, meat that is very firm and partially frozen on the outside grinds beautifully. Don’t try to grind a solid block of frozen meat, as this can damage your grinder’s motor and gears.
Q: What’s the difference between a manual and electric grinder for sausage?
A: An electric grinder offers speed and power, making quick work of large batches. A manual grinder is more affordable, offers more control, and is a bit of a workout. For small batches of a few pounds, a quality manual grinder is perfectly sufficient.
Q: What do the different grinding plates do?
A: The holes in the plate determine the texture of your grind. A coarse plate (large holes) is great for chili meat or a rustic, chunky sausage. A fine plate (small holes) is for a more uniform texture, like you’d find in a breakfast sausage patty or an emulsified sausage.
Q: How should I store freshly ground pork?
A: If you’re making sausage patties or links right away, you can proceed with your recipe. If not, store the ground pork in an airtight container or vacuum-sealed bag in the refrigerator for up to two days, or in the freezer for up to three months.
Your Journey to Sausage Perfection
You’ve now got the knowledge and the technique. Learning how to grind pork for sausage is more than a chore; it’s a craft that connects you to your food in a profoundly satisfying way. You’re in control of every ingredient, every texture, and every delicious bite. So, chill your gear, grab a beautiful pork shoulder, and get ready to taste the incredible difference. Trust us, once you go homemade, you’ll never go back.