 Let’s be honest, there’s nothing more frustrating than getting prepped for a big batch of homemade sausages or burgers, only to have your meat grinder turn that beautiful cut of meat into a sad, smushed paste. If you’ve ever found yourself in that situation, the culprit is almost always a dull blade. Learning How To Sharpen A Meat Grinder Blade is one of those fundamental kitchen skills that separates the amateurs from the pros. It’s the secret to achieving that perfect, professional-grade grind every single time, and lucky for you, it’s a whole lot easier than you might think. Forget sending it out or buying a new one just yet; we’re about to bring your grinder back to life.
Why a Sharp Blade is Non-Negotiable
Before we dive into the nitty-gritty, let’s talk about why this is so important. A sharp meat grinder blade doesn’t just cut meat; it creates a clean, efficient slicing action. A dull blade, on the other hand, tears and smashes the meat against the grinder plate.
Here are the tell-tale signs that your blade needs some TLC:
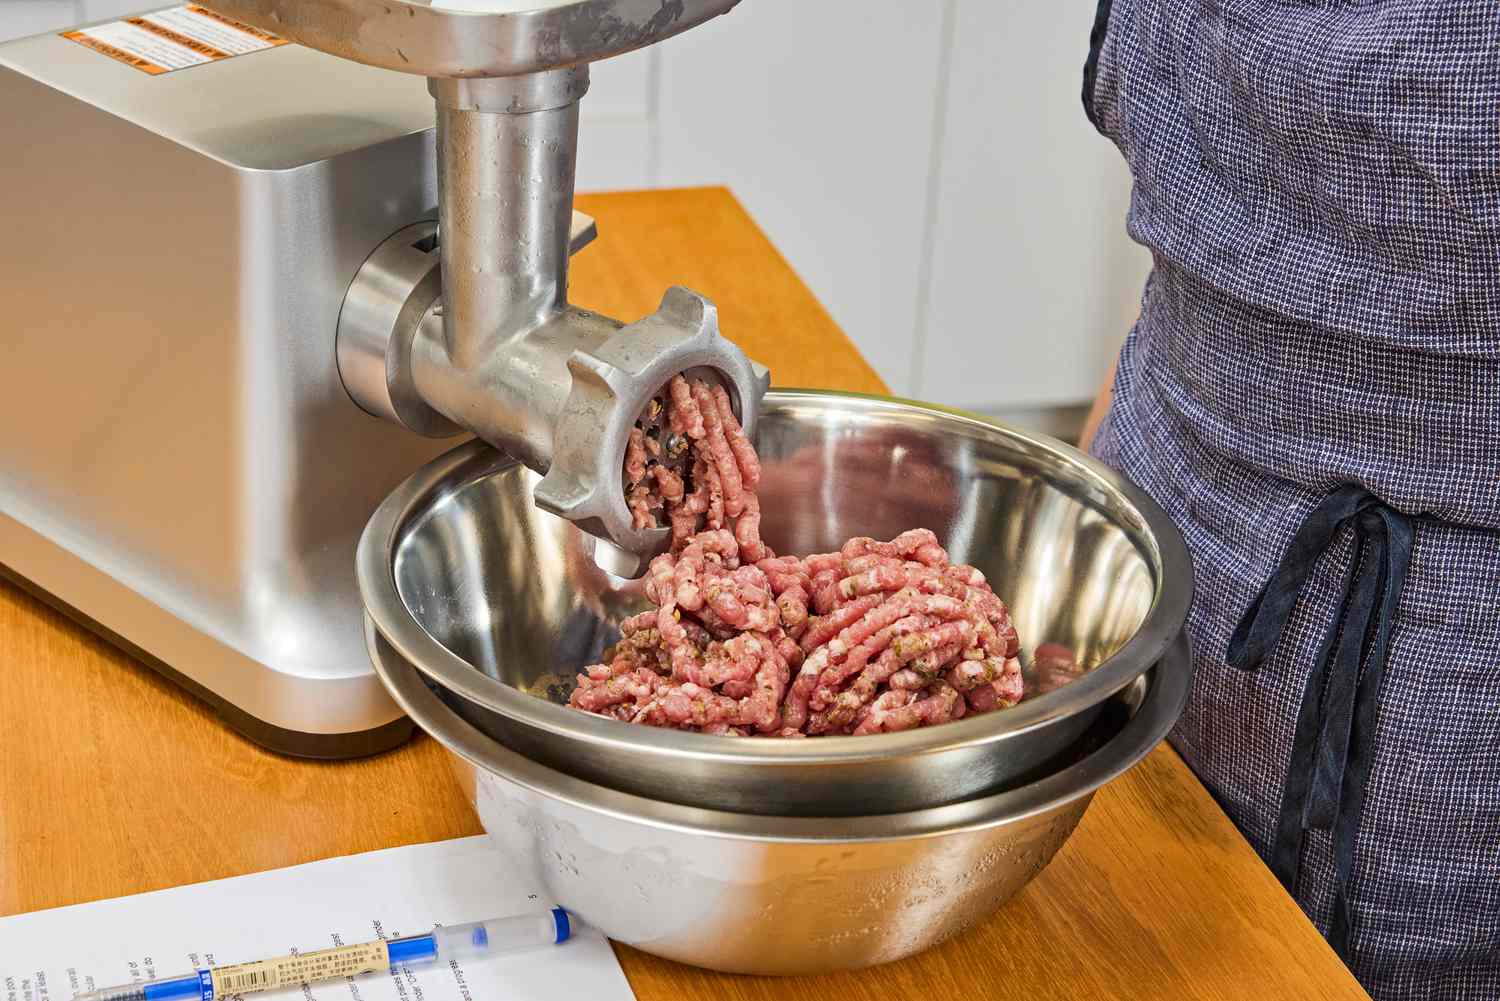
- Mushy, Pasty Meat: This is the number one red flag. Instead of distinct strands of ground meat, you get a goopy, unappealing texture.
- Excessive Sinew and Fat Buildup: You’ll notice long, stringy bits of connective tissue wrapping themselves around the blade and auger instead of being cut through.
- The Motor is Straining: If you have an electric grinder, you might hear the motor working harder than usual or even bogging down. It’s fighting to push the meat through a blade that can’t cut it.
- Longer Grinding Times: A job that used to take five minutes now takes fifteen.
A sharp blade not only gives you a superior texture for your food but also puts less stress on your grinder’s motor, extending its life.
The Golden Rule: Sharpening the Blade and Plate Together
Here’s the single most important concept to grasp before you start. Think of your meat grinder’s cutting mechanism like a pair of scissors. You have the spinning, star-shaped blade, and you have the stationary, perforated plate (the one with all the holes). The meat is sheared off as the sharp edge of the blade passes over the flat surface of the plate.
“The biggest mistake people make is sharpening only the blade. It’s a system. If one surface is uneven, the whole system fails. You must sharpen both the blade and the inner flat surface of the plate to create a perfectly flush, cutting contact point.”
– Chef David Wilson, Culinary Equipment Specialist
For this reason, our goal isn’t just to get the blade’s edges sharp, but to make both the blade and the plate perfectly flat so they sit flush against each other. This is the key to a flawless grind.
How to Sharpen a Meat Grinder Blade: The Sandpaper Method
This is the most accessible and reliable method for home use. It’s cheap, effective, and gives you fantastic results with a little patience.
What You’ll Need:
- A perfectly flat surface (a thick piece of plate glass or a smooth granite countertop tile is ideal)
- A set of wet/dry sandpaper in various grits (e.g., 220, 400, and 600 grit)
- A little water or food-grade mineral oil for lubrication
- A permanent marker
- Clean cloths
Step-by-Step Instructions:
- Disassemble and Clean: First things first, unplug your grinder if it’s electric. Completely disassemble the grinding head and thoroughly wash the blade and plate with hot, soapy water to remove any grease or meat residue. Dry them completely. Safety first, always.
- Set Up Your Sharpening Station: Place your piece of glass or flat tile on a sturdy work surface. Lay your first sheet of sandpaper—let’s start with the coarser 220-grit—on top of the glass. The glass ensures your sharpening surface is perfectly flat. A little water on the glass can help the sandpaper stick and not slide around.
- The Marker Trick: This is a pro tip that guarantees an even result. Take your permanent marker and color the entire flat surface of the grinder blade (the side that touches the plate). Do the same for the flat, inner surface of the grinder plate. This ink will act as your guide.
- Start with the Blade: Place the blade, marker-side down, onto the sandpaper. Apply light, even pressure with your fingertips and move the blade in a smooth, circular or figure-eight pattern. After about 15-20 seconds, lift the blade and check your progress. You’ll see where the ink has been removed, showing you the high spots. Your goal is to continue sanding until all the ink is gone, indicating the entire surface is perfectly flat and sharp.
- Now, the Grinder Plate: Repeat the exact same process with the grinder plate. Place it flat-side down on the sandpaper and work it in that same circular motion. Keep going until all the permanent marker has been sanded away. This ensures it’s as perfectly flat as the blade.
- Progress to a Finer Grit: Once both pieces are flat and the ink is gone from the 220-grit paper, it’s time to refine the edge. Wipe the blade and plate clean, switch to your 400-grit sandpaper, and repeat the process for about 30 seconds on each. This will remove the coarser scratches left by the first round.
- Final Polish: For a truly razor-sharp finish, repeat one last time with the finest 600-grit (or even higher, like 800-grit) sandpaper. This will polish the surface to a mirror-like sheen and create an incredibly effective cutting edge.
- The Final, Crucial Clean: This is a critical step for food safety. You’ve just created microscopic metal filings that you do not want in your food. Wash the blade and plate meticulously with hot water, soap, and a scrub brush. Pay close attention to the holes in the plate. Once you’re certain they are spotless, dry them immediately and thoroughly.
- Prevent Rust: Carbon steel blades and plates will rust in the blink of an eye. To prevent this, apply a thin coat of food-grade mineral oil to both parts before storing them. This is the same reason you should always follow our [complete guide to cleaning and maintaining your grinder]().
Post-Sharpening Care and Reassembly
With your newly sharpened components, reassembling your grinder correctly is key. The flat, sharpened side of the blade must sit flush against the flat, sharpened side of the plate. It’s a simple step, but getting it backward is a common mistake that will leave you with another batch of mushy meat.
Once reassembled, you’re ready to go. The difference will be night and day. You’ll witness your grinder effortlessly process meat, producing the beautifully defined grind you’ve been looking for.
Frequently Asked Questions (FAQ)
Q: How often should I sharpen my meat grinder blade?
A: This depends on usage. For a home user grinding meat a few times a month, sharpening once a year is usually sufficient. If you grind meat with lots of tough sinew or process large quantities (like a hunter), you might need to do it every 3-6 months. The best indicator is performance—once you see mushy results, it’s time.
Q: Can I just buy a new meat grinder blade and plate?
A: Absolutely, and for many, this is a convenient option. However, learning how to sharpen a meat grinder blade is a cost-effective skill that puts you in control. A new set can cost anywhere from $15 to $40, while a few sheets of sandpaper cost a couple of dollars and will last for several sharpenings.
Q: Can I use a bench grinder or a Dremel tool to sharpen my blade?
A: We strongly advise against it. Power tools remove material very quickly and can easily overheat the blade, which ruins its temper (hardness). More importantly, it’s nearly impossible to achieve the perfectly flat surface required for the blade and plate to work together. The manual sandpaper-on-glass method is slower but guarantees a superior, flat finish.
Q: Does this method work for both manual and electric meat grinders?
A: Yes, it works perfectly for both. The cutting mechanism—a blade and plate working in tandem—is identical in both manual and electric models. The process of making those two surfaces flat and sharp is universal.
Q: What if my blade is chipped or severely damaged?
A: If there are significant nicks or chips in the blade, the sandpaper method may take a very long time or may not be able to create a perfectly flat surface. In cases of severe damage, it’s often best to invest in a [new blade and plate set]() to ensure optimal performance.
A Cut Above the Rest
Mastering how to sharpen a meat grinder blade is more than just maintenance; it’s an investment in the quality of your food. It’s the difference between frustrating, subpar results and the joy of creating perfect, delicious ground meat, sausages, and more, right in your own kitchen. By taking 20 minutes to give your equipment this simple tune-up, you’re ensuring years of flawless performance and proving that sometimes, the sharpest tool in the kitchen is you. So go ahead, give it a try—your next burger will thank you for it.