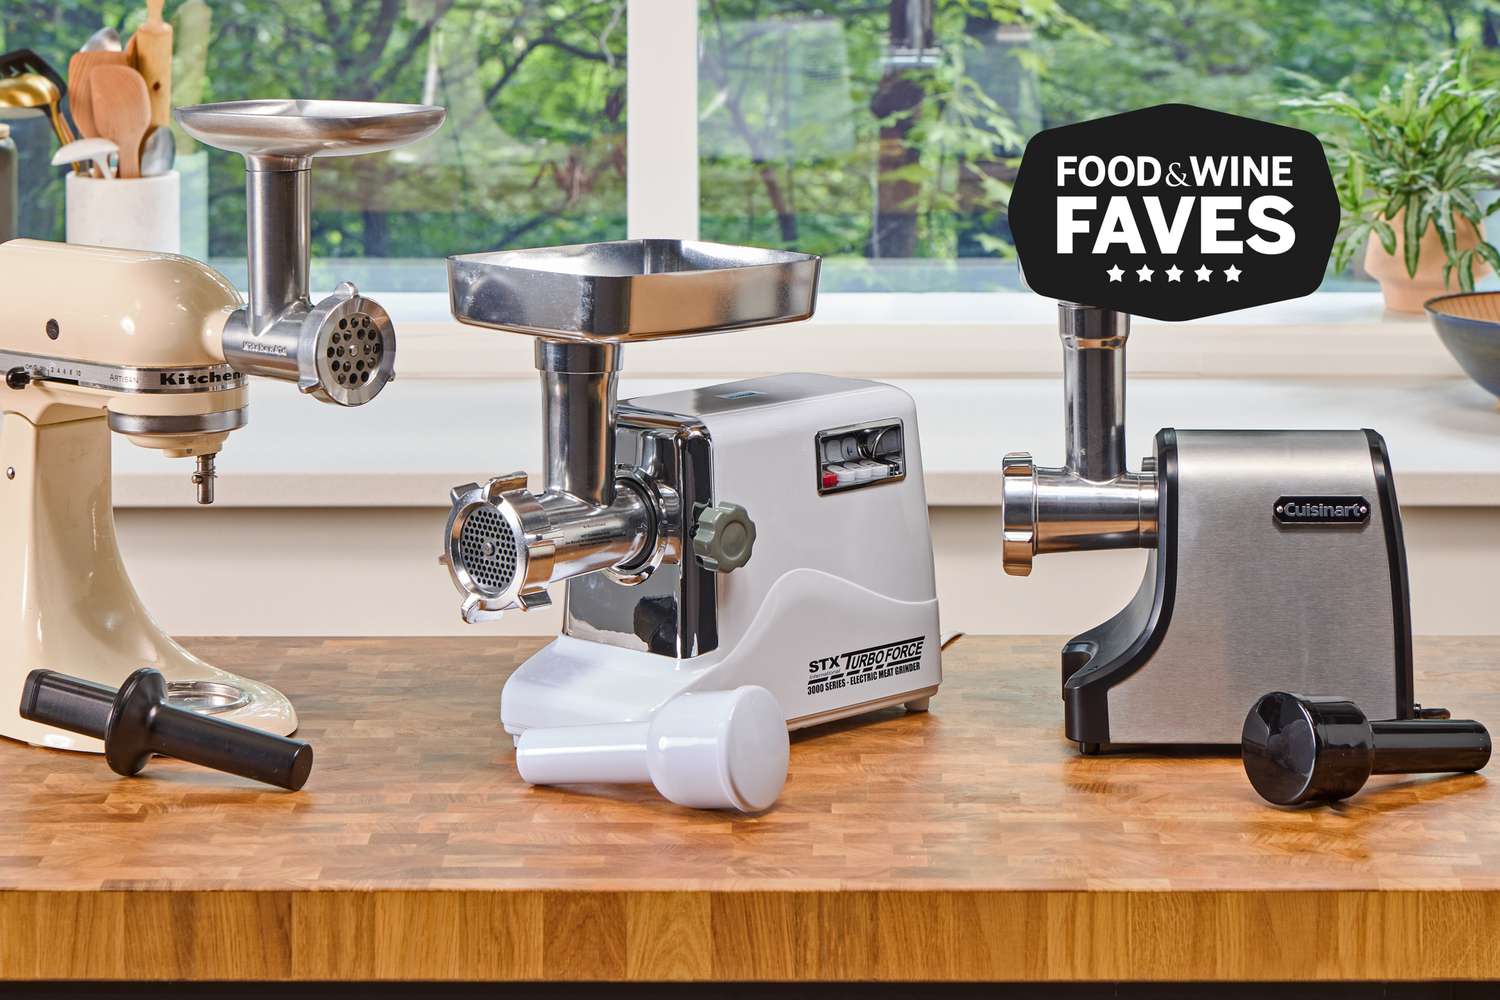
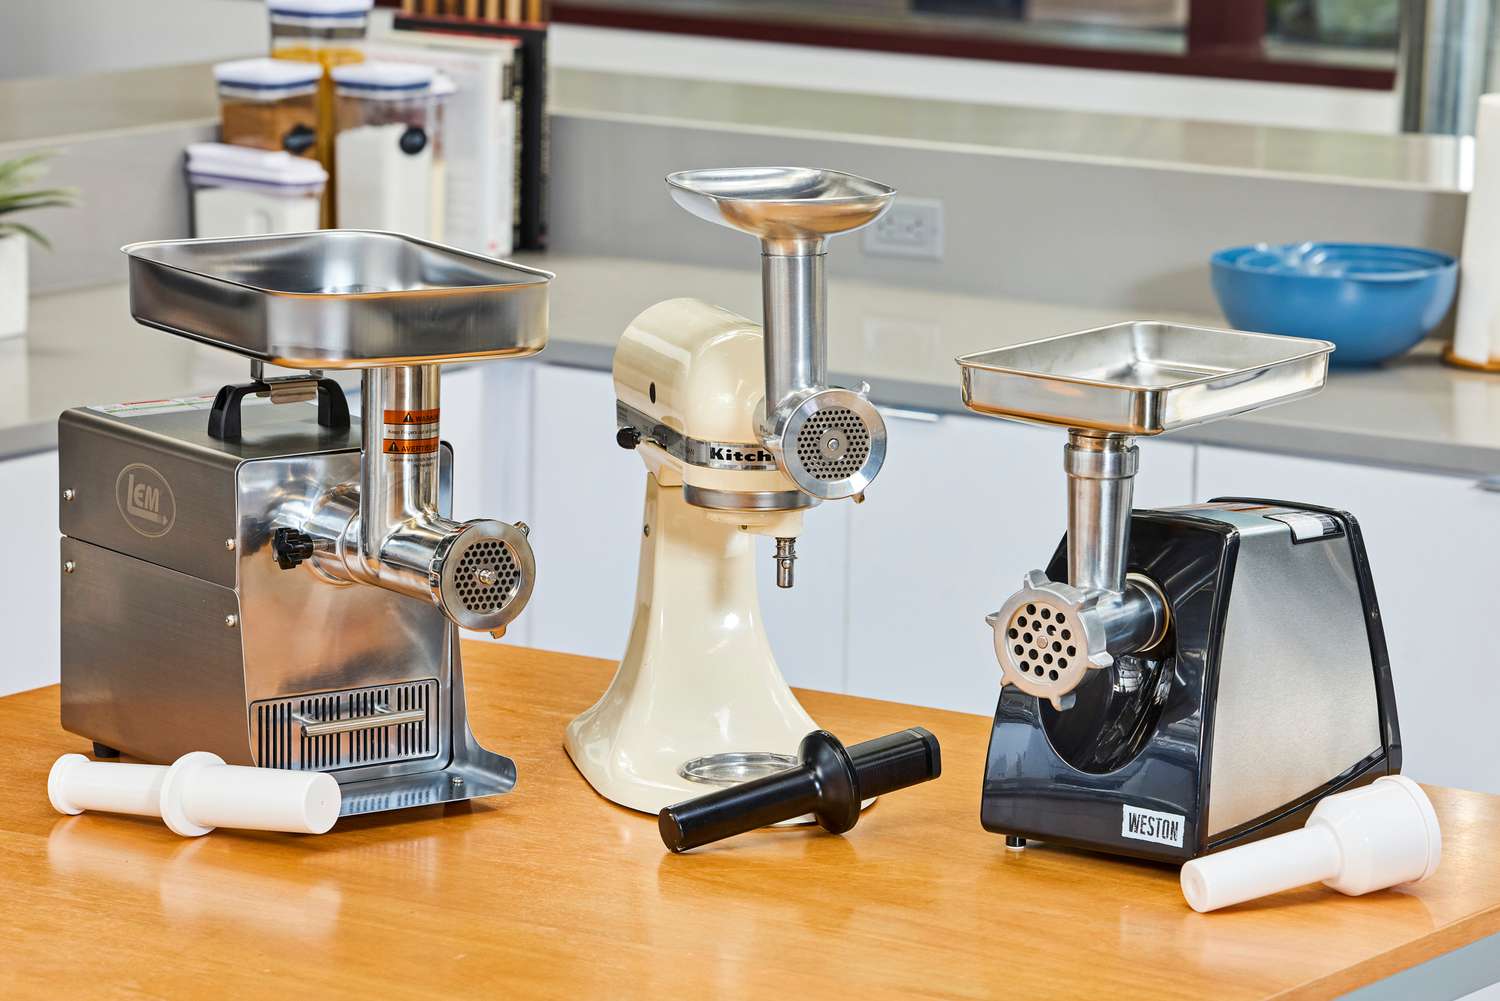
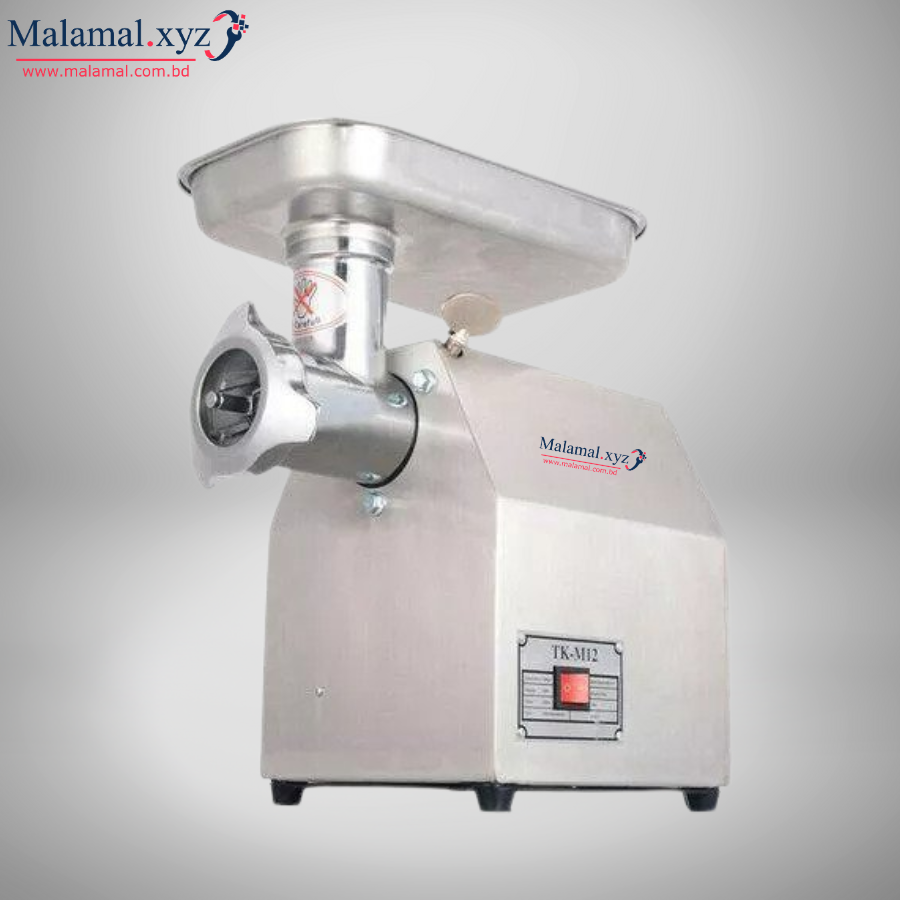
Let’s be honest, we’ve all been there. You unbox your shiny new meat grinder, lay out all the gleaming metal parts on the counter, and feel a surge of culinary ambition. Then you see it—a collection of pieces that look like a puzzle. One of those crucial, yet often misunderstood, pieces is the fixing ring. So, What Is A Fixing Ring exactly? It’s the unsung hero of your meat grinder, the final piece that locks everything in place and turns a collection of parts into a powerful food-processing machine. Without it, you’d have nothing but a mess.
Getting to know your grinder, part by part, is the secret to moving from an amateur cook to a true home-ground connoisseur. The fixing ring, sometimes called a retaining ring or locking cap, might seem simple, but its role is absolutely critical for performance, safety, and the quality of your final product. In this guide, we’re going to break down everything you need to know about this essential component.

What is a Fixing Ring and Why Does It Matter?
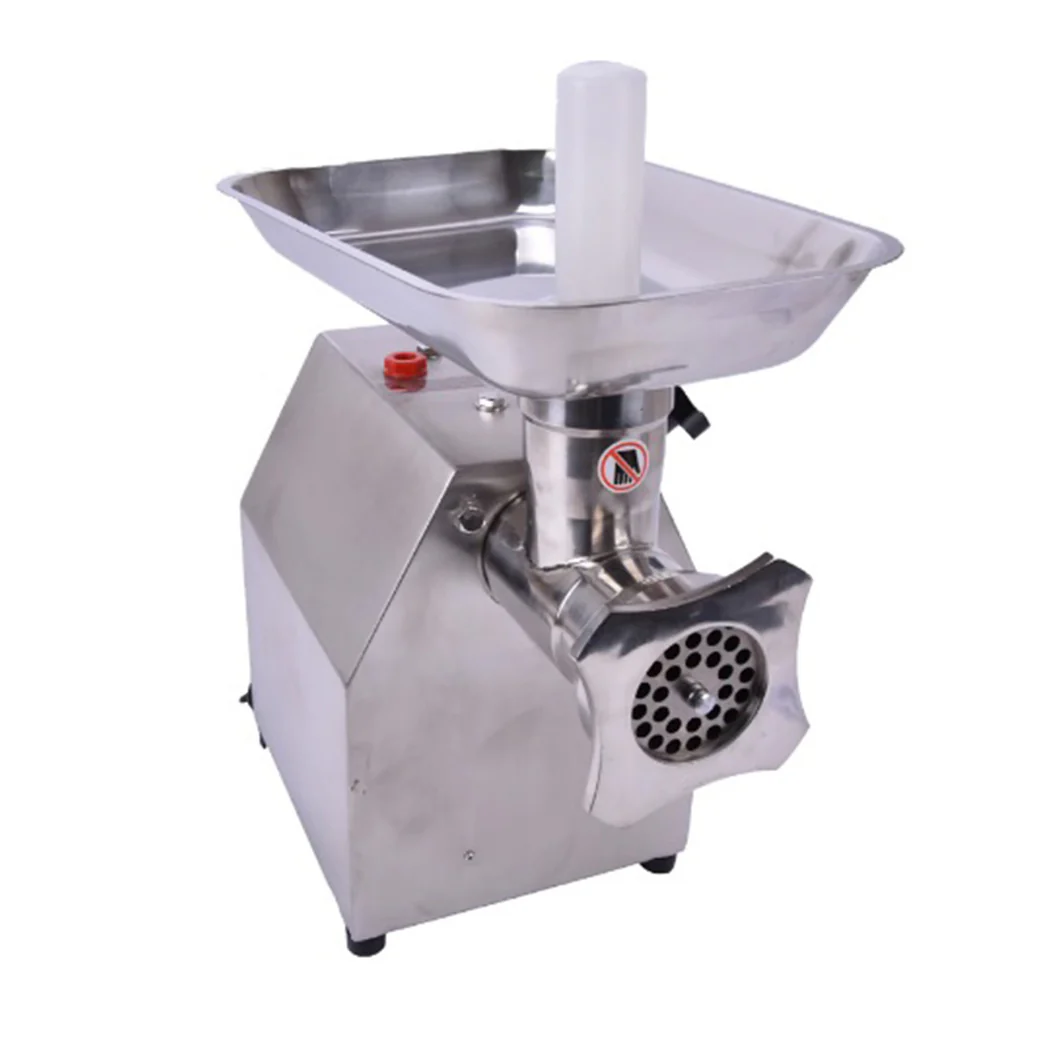
At its core, the fixing ring is the threaded, circular cap that screws onto the front of your meat grinder’s head assembly. Think of it as the trusty nut on a bolt; its job is to hold the entire grinding mechanism—specifically the grinding plate and blade—firmly in place against the end of the auger (the screw-like corkscrew part).
Its importance can’t be overstated. This single part is responsible for:
- Creating Pressure: It ensures the grinding blade is pressed flush against the grinding plate. This close contact is essential for a clean, sharp cut. Without this pressure, the meat will be mashed and smeared rather than ground.
- Ensuring Consistency: By keeping the plate and blade perfectly aligned and stable, the fixing ring guarantees a uniform grind size, which is key for perfect sausages, burgers, and meatballs.
- Safety: It securely contains all the moving parts at the business end of the grinder, preventing the plate or blade from dislodging during operation.
Without a properly tightened fixing ring, your powerful machine is essentially useless. You’ll get mushy, unappetizing meat, and you might even risk damaging the components.
The Anatomy of Your Grinder Head: Where the Fixing Ring Fits In
To truly understand the fixing ring’s role, you need to visualize how the grinder head is assembled. It’s a simple sequence, but getting it right is everything. My first time, I put the blade in backward, and trust me, the results were… soupy. Let’s not make that mistake.
Here is the correct order of assembly for virtually all home-use meat grinders:
- Insert the Auger: The long, corkscrew-shaped auger goes into the main grinder body first. It’s the part that pushes the meat forward.
- Attach the Blade: The grinding blade, which looks like a small, four-pronged star, slides onto the square pin at the end of the auger. Crucially, the flat side of the blade must face outwards, towards you.
- Place the Grinding Plate: Select the grinding plate with the desired hole size (coarse, medium, or fine). The plate has a small notch that aligns with a pin on the grinder head to keep it from spinning. Place it over the blade, ensuring it sits flush.
- Screw on the Fixing Ring: This is the final step. Take the fixing ring and screw it onto the threads of the grinder head. This will press all the components tightly together.
Common Problems Caused by an Improperly Used Fixing Ring
If you’re getting poor results from your grinder, the fixing ring is one of the first things you should check. Nine times out of ten, issues with grind quality stem from this simple part not being used correctly.
- Mushy or Smeared Meat: This is the number one symptom. If the ring is too loose, a gap forms between the blade and the plate. Instead of being sheared, the meat and fat get squeezed and mashed through this gap.
- Grinder Clogs Easily: When meat is smeared instead of cut, the sinew and fat can build up and clog the grinding plate, forcing you to stop and clean it constantly.
- Strange Noises: A grinding or rattling sound can indicate that the blade and plate are not held securely and are moving around during operation. This can cause damage to both parts over time.
- The “Worm”: Have you ever seen meat extrude in one long, continuous “worm” without breaking? This often means the blade isn’t cutting effectively because the fixing ring is too loose.
The “Too Tight vs. Too Loose” Conundrum
So, how tight should it be? This is where many people go wrong. The common instinct is to crank it down as hard as you can, but this can be just as bad as leaving it too loose.
Expert Tip from Appliance Specialist Sarah Jenkins: “The golden rule for your fixing ring is ‘hand-tight, then a quarter-turn back.’ You want it snug enough to eliminate any wiggle between the plate and blade, but not so tight that it creates excessive friction or makes the motor strain. Over-tightening can actually wear down the washer and motor over time.”
If it’s too tight, the motor has to work much harder to turn the auger, which can lead to overheating. A good rule of thumb is to tighten it by hand until it’s snug, and that’s it. No need to bring out the heavy-duty tools.
How to Clean and Maintain Your Fixing Ring
How do you clean a fixing ring? The best way to clean a fixing ring is to hand wash it immediately after use with warm, soapy water and a bottle brush to clear the threads. Never put it in the dishwasher, especially if it’s made of aluminum or coated metal, as harsh detergents can cause it to oxidize and discolor.
Proper maintenance is simple but vital for longevity.
- Disassemble Immediately: Don’t let meat residue dry inside the grinder head. Unscrew the fixing ring and take all the parts out as soon as you’re done grinding.
- Wash Thoroughly: Use a stiff brush or a dedicated bottle brush to clean the threads of the ring, as small particles of meat and fat love to hide in there.
- Dry Completely: This is the most important step. Moisture is the enemy of metal parts. Towel-dry the fixing ring immediately and let it air-dry completely before storing. This prevents rust and corrosion.
- Store Properly: Some people recommend coating the parts with a light layer of food-grade mineral oil before storing to prevent any rust, especially in humid climates.
Choosing a Replacement: What to Look For
Sooner or later, you might lose or damage your fixing ring. When shopping for a replacement, here are a few things to keep in mind:
- Material: Most are made from cast aluminum or stainless steel. Stainless steel is far superior—it’s more durable, rust-resistant, and usually dishwasher-safe. If you have the choice, always go for stainless steel.
- Size and Compatibility: Grinders come in standard sizes (e.g., #5, #8, #12, #22, #32). Your fixing ring must match the size of your grinder. A #8 ring will not fit on a #12 grinder. Always check your model number or measure the diameter of your grinder head.
- Brand Specifics: While sizes are somewhat standard, some brands have unique threading. It’s always safest to buy an original equipment manufacturer (OEM) replacement from your grinder’s brand to guarantee a perfect fit.
Frequently Asked Questions (FAQ)
Q: What’s the difference between a fixing ring and a lock ring?
A: They are generally the same thing. “Fixing ring,” “lock ring,” “retaining ring,” and “grinder cap” are all terms used to describe the same part that holds the plate and blade assembly in place.
Q: Why is my fixing ring getting stuck after I use it?
A: This usually happens for two reasons: you’ve overtightened it, or meat residue has dried in the threads, acting like glue. To prevent this, don’t over-tighten, and always clean your grinder parts immediately after use. If it’s stuck, try tapping the sides gently with a wooden spoon to loosen it.
Q: Can I use a fixing ring from a different brand on my grinder?
A: It’s not recommended. Even if they are the same “size” (e.g., #8), the thread pitch and depth can vary between manufacturers. Using an incompatible ring can damage the threads on your grinder head, which is a much more expensive part to replace.
Q: My fixing ring is discolored and gray after going in the dishwasher. Is it ruined?
A: It’s likely made of cast aluminum, which oxidizes in contact with harsh dishwasher detergents. It’s not ruined, but it’s cosmetically damaged. The gray residue can rub off on your hands and food. You can try to scrub it off with a baking soda paste, but it’s best to hand-wash aluminum parts from now on.
Q: Does the fixing ring affect the size of the grind?
A: Not directly. The grind size is determined by the holes in the grinding plate you choose. However, if the fixing ring is loose, it will negatively affect the quality of any grind size by causing the meat to be smeared instead of cut cleanly.
The Final Turn
The humble fixing ring may not be the most glamorous part of your meat grinder, but it is undoubtedly one of the most important. It’s the linchpin that ensures every component works in harmony to deliver perfectly ground meat every single time. By understanding its function, how to use it correctly, and how to care for it, you’re taking a massive step toward mastering the art of home grinding. So next time you assemble your machine, give that little ring a nod of appreciation. It’s the silent partner behind your most delicious burgers, sausages, and culinary creations.