Ever find yourself staring into the feed tube of your meat grinder, watching the machine work its magic, and wonder about that simple, often plastic, tool that came with it? You might be asking, What Is A Food Pusher and is it really that important? Let’s be honest, it looks like a pretty basic piece of kit. But in the world of home grinding, this humble tool is the unsung hero, the trusty sidekick to your powerful machine. It’s the critical link between safety and a perfect grind, and overlooking its role is a rookie mistake I see all too often.
A food pusher, sometimes called a meat stomper or plunger, is a safety device designed specifically to press meat and other foods down the feed tube (or ‘throat’) of a meat grinder and into the grinding mechanism. Its primary job is to keep your fingers and hands far away from the dangerous moving parts, like the auger. But its role goes far beyond just safety. It’s also the key to achieving the perfect texture for your burgers, sausages, and meatballs by ensuring a steady, consistent flow of meat into the blades. Think of it as the conductor of your meat-grinding orchestra; without it, you’re just making noise.
The Food Pusher’s Stage: A Brief History of Meat Grinders
To truly appreciate the food pusher, you have to understand the machine it serves. The meat grinder wasn’t born in a modern, safety-conscious factory. The concept was pioneered in the 19th century by a German inventor, Karl Drais. These early models were hulking, hand-cranked beasts made of cast iron. They were revolutionary, but let’s just say “user safety” wasn’t the top design priority. Stories from old-time butchers aren’t for the faint of heart, and the lack of a proper tool to guide the meat was a big part of the problem.
As grinders evolved from manual, clamp-on-the-counter models to the powerful electric units we love today, the need for a dedicated safety tool became undeniable. The speed and torque of an electric motor are unforgiving. This evolution gave birth to the modern food pusher, a simple yet brilliant solution. It was no longer just an accessory; it became an integral, non-negotiable part of the grinder itself, mandated by safety standards and common sense.
Why a Food Pusher is Non-Negotiable: The Real Benefits
So, why all the fuss about this one little tool? Using your meat grinder without its dedicated what is a food pusher is like driving a car without a steering wheel—you might move, but you’re not in control, and it’s going to end badly. Here’s why it’s a game-changer for your kitchen adventures.
- Safety First, Always: This is the big one. An electric meat grinder’s auger is incredibly powerful and designed to pull things inward. Your fingers are no match for it. The food pusher creates a safe distance, allowing you to guide the meat without risking catastrophic injury. Never, ever use your fingers, a fork, a spoon handle, or any other object not designed for the task.
- A Better, More Consistent Grind: The secret to fluffy, tender ground meat versus a dense, pasty mess is a consistent feed rate. Shoving meat in sporadically causes the grinder to “smear” the fat instead of cutting it cleanly. A food pusher allows you to apply gentle, even pressure, feeding the auger consistently for a perfect texture every single time.
- Prevents Clogging and Jams: By controlling the flow of meat, you significantly reduce the risk of overwhelming the motor and causing a jam. This is especially important when grinding tougher cuts or meat that’s still slightly frozen.
- Maximizes Your Yield: A good food pusher helps you get every last bit of meat through the grinder, minimizing waste. It’s shaped to fit the feed tube, ensuring nothing gets left behind.
|
Our Picks for the Best Meat Grinder in 2025
As an Amazon Associate, we earn from qualifying purchases.
|
||
| Num | Product | Action |
|---|---|---|
| 1 | AAOBOSI Meat Grinder Electric 3000W Max with Touch Color Screen, Auto-Reverse & Built-in Storage - 3 Speed Settings,Grinding, Sausage & Kibbe Making for Home Use, Stainless Steel |

|
| 2 | LEM Products BigBite #8 Meat Grinder, 0.50 HP Stainless Steel Electric Meat Grinder Machine, Ideal for Regular Use |
|
| 3 | LEM Products BigBite #22 Meat Grinder, 1.0 HP Stainless Steel Electric Meat Grinder Machine, Ideal for Heavy Use |
|
| 4 | Weston Pro Series Electric Meat Grinder 7 Sausage Stuffer, Commercial Grade, 1500 Watts, 2 HP, 21lbs. Per Minute, Heavy Duty Stainless Steel (10-3201-W) |
|
| 5 | VEVOR Commercial Meat Grinder, 550LB/h 1100W Electric Meat Mincer, ETL Approved Heavy Duty Industrial Meat Mincer Machine |
|
| 6 | MEAT! 1.5 HP Meat Grinder with 3 Stuffing Tubes, 2 Stainless Steel Grinding Plates, and a Stainless Steel Stuffing Plate for Making Ground Meat |
|
| 7 | MEAT! 1.5 HP Meat Grinder with 3 Stuffing Tubes, 2 Stainless Steel Grinding Plates, and a Stainless Steel Stuffing Plate for Making Ground Meat |
|
| 8 | STX International Turboforce II 4000 Electric Meat Grinder | Grinds Soft Bones | Foot Pedal | 6 Grinding Plates | Stainless Steel Blades | Sausage Tubes | Kubbe Maker | Meat Claws | Patty Press & More |
|
| 9 | Electric Meat Grinder, Sausage Stuffer with 3 Sausage Tubes, 2 Blades, 3 Plates, 3200W Max, Meat Grinder Heavy Duty for Home Kitchen Use, Stainless Steel (Black) |
|
| 10 | Commercial Meat Grinder #12,0.9HP Electric Meat Mincer,Heavy Duty Stainless Steel Industrial Meat Mincer w/2 Blades & Meat Pusher,Food Grinders Machine for Home Kitchen Regular Use |
|
The Two Arenas for a Food Pusher: Manual vs. Electric Grinders
While the core function remains the same, how you use a food pusher can feel slightly different depending on your grinder type. Both have their loyal fans, and the food pusher is a key player for each.
| Feature | Manual Meat Grinder | Electric Meat Grinder |
|---|---|---|
| Power Source | Your own arm strength (get ready for a workout!) | Electric motor |
| Speed | As fast as you can crank | Fast and consistent |
| Food Pusher’s Role | Important for guiding meat and preventing slips | Absolutely critical for safety due to high speed/torque |
| Best For | Small batches, more control over speed, off-grid use | Large batches, convenience, grinding tough cuts |
| Price Point | Generally lower | Varies, but typically higher than manual |
With a manual grinder, you have a bit more tactile feedback. You can feel a potential jam starting to form. With an electric model, things happen much faster. That’s why the discipline of using a food pusher is even more critical with an electric unit—it’s your primary line of defense.
How to Choose Your Grinder (and its Trusty Food Pusher)
When you’re shopping for a new meat grinder, don’t just look at the motor’s wattage or the stainless steel finish. Pay close attention to the accessories, especially the food pusher.
Key Grinder Features to Consider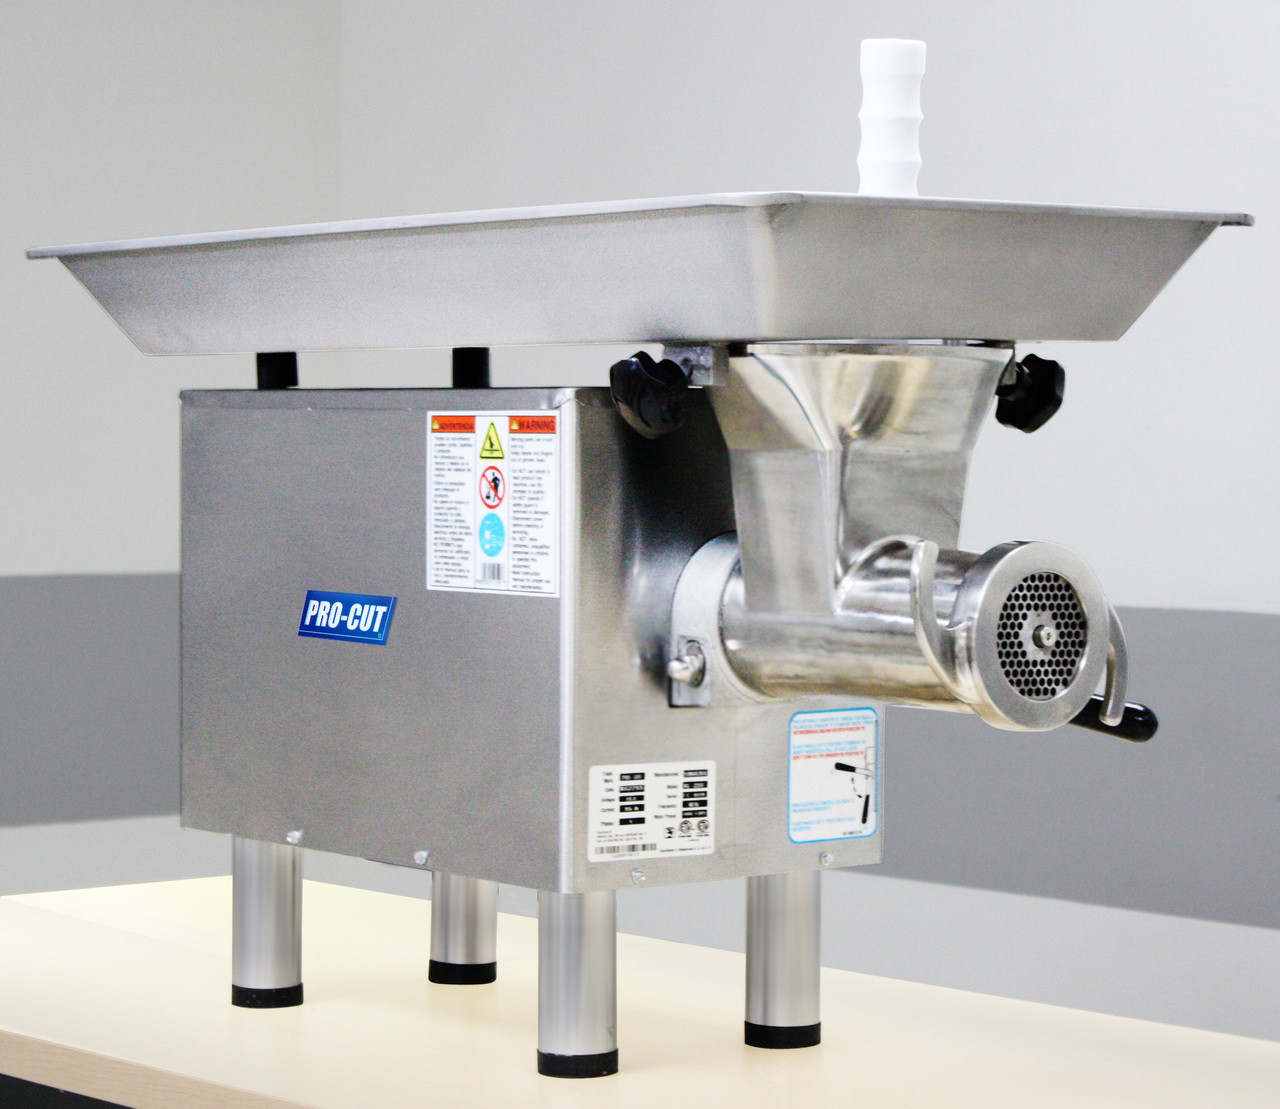
- Power (Wattage): For electric grinders, higher wattage generally means more power to grind through tough cuts and bone (if the model is designed for it). For home use, a grinder between 500-800 watts is a great sweet spot.
- Materials: Look for stainless steel or heavy-duty cast aluminum for the main components (head, auger, plates). These are durable and easy to clean.
- Included Accessories: Does it come with different grinding plates (coarse, medium, fine)? What about sausage stuffing tubes? And most importantly…
What to Look for in a Food Pusher
- Material: Most are made from durable, food-grade plastic like high-density polyethylene (HDPE). This is ideal because it’s strong, easy to clean, and won’t damage the metal auger or grinder head if it makes contact.
- Ergonomics: It should have a comfortable handle or top that allows you to get a good grip and apply gentle pressure without your hand slipping.
- Fit: It should fit the grinder’s feed tube well—not too snug that it gets stuck, but not so loose that meat squeezes up the sides.
Expert Tip from Appliance Expert Sarah Jenkins: “A lot of people throw away the plastic pusher that comes with their grinder, thinking it’s just part of the packaging. This is a huge mistake. That tool is designed specifically for the dimensions and power of your machine. Always keep it with your grinder.”
How to Use a Food Pusher Safely and Effectively
Alright, you’ve got your grinder, your beautifully chilled meat, and your food pusher in hand. Let’s do this the right way.
- Preparation is Key: Make sure your meat is cut into strips or cubes that will easily fit down the feed tube. For the best results, your meat and all your grinder parts should be chilled in the freezer for about 30-45 minutes beforehand. This helps the fat stay firm for a cleaner cut.
- Assemble Your Grinder: Set up your machine on a stable surface according to the manufacturer’s instructions.
- Power On (If Electric): Turn the machine on and let it get up to speed.
- Feed the Beast: Drop a few pieces of meat into the feed tube. Don’t pack it in.
- Engage the Pusher: Take your food pusher and gently press the meat down towards the auger. Do not use excessive force. The auger is designed to grab the meat and pull it in. Your job is simply to guide it and keep the flow steady.
- Listen to Your Machine: You’ll learn the sound of your grinder when it’s working happily. If it starts to strain or whine, stop pushing and let it catch up. If it seems jammed, turn it off immediately, unplug it, and safely clear the obstruction.
- Finish Strong: Use the food pusher to guide the very last pieces of meat through to get everything processed.
Keeping Your Tools in Top Shape: Cleaning and Maintenance
A clean grinder is a happy grinder. Proper cleaning also prevents cross-contamination and ensures your machine lasts for years.
- Disassemble: After you’re done grinding, unplug the machine and take apart all the grinding components.
- Wash Promptly: Wash the plates, blade, auger, head, and tray by hand in hot, soapy water. Use a bottle brush to clean inside the head and the holes of the grinding plates.
- The Food Pusher: Your food pusher is the easiest part to clean! Most are dishwasher safe (check your manual), but a quick wash with soap and water is usually all it needs.
- Dry Thoroughly: This is crucial. Dry all metal parts immediately and completely to prevent rust. Some people even put them in a warm oven for a few minutes to ensure they are bone-dry.
- Store Properly: Store your clean, dry parts in a sealed bag, perhaps with a little food-grade mineral oil on the metal components to keep them pristine.
Frequently Asked Questions (FAQ)
What is a food pusher used for?
A food pusher is a safety tool used to safely press meat and other food items down the feed tube of a meat grinder or food processor. It keeps your hands away from the sharp, moving blades and ensures a consistent, steady feed for better results.
Can I use a wooden spoon instead of a food pusher?
No, you should never use a wooden spoon or any other utensil as a substitute. A wooden spoon can splinter, and a metal one can severely damage your grinder’s auger and grinding plates. The plastic food pusher is designed to be firm yet forgiving, preventing damage to your machine.
Are all food pushers the same size?
No, food pushers are designed to match the diameter of the feed tube on a specific model or series of grinders. While some may be interchangeable between models of the same brand, it’s always best to use the one that came with your machine for a proper and safe fit.
What is a food pusher made of?
The vast majority are made from durable, food-grade plastics like HDPE (high-density polyethylene) or ABS plastic. These materials are chosen because they are strong, non-porous, easy to clean, and won’t damage the metal components of the grinder.
My meat grinder isn’t pushing the meat through. What’s wrong?
This common issue is often not the pusher’s fault. It’s usually caused by one of three things: the meat is not cold enough (causing it to smear), the grinder blade is dull or installed backward, or you’re trying to force too much meat into the tube at once. Use your food pusher to apply gentle, steady pressure, and ensure your meat and equipment are properly chilled.
The Final Word on Your Grinder’s Best Friend
From ensuring your safety to perfecting your grind, the food pusher is far more than just a piece of plastic. It’s an essential tool that unlocks the full potential of your meat grinder. It empowers you to create fresh, delicious, and high-quality ground meat, sausages, and more, right in your own kitchen. So, the next time you set up your grinder, give a little nod of respect to that humble tool. Understanding what is a food pusher and using it correctly is the first and most important step on your journey to becoming a true Meat Grinder Pro.