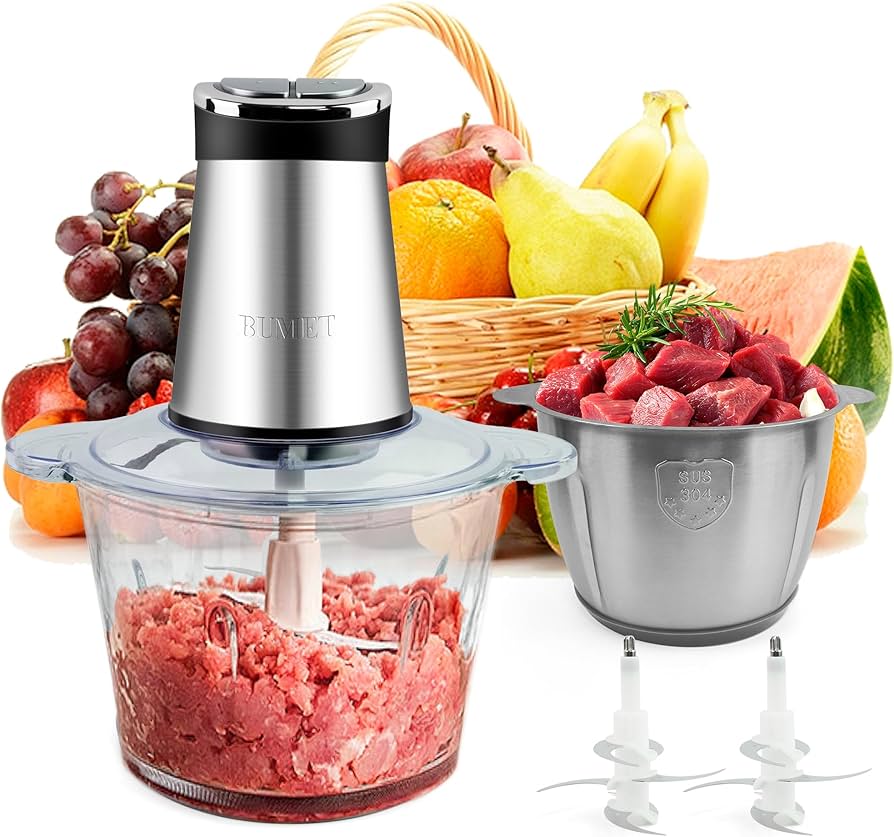
Have you ever bitten into a burger and wondered why it tasted a bit… bland? A little spongy, maybe? Let’s be real, the pre-ground meat you buy at the supermarket has been sitting around, losing its flavor and texture. But what if I told you the secret to the juiciest, most flavorful burgers, meatballs, and sausages is already sitting on your countertop? If you own a KitchenAid stand mixer, you’re holding the key. The only thing you’re missing is the answer to the question: What Is A Kitchenaid Meat Grinder Attachment and how can it completely revolutionize your cooking?
This isn’t just another gadget. It’s a gateway to taking control of your food, from the texture of your grind to the ingredients in your sausage. It’s about transforming a good meal into an unforgettable one.
So, What Exactly Is a KitchenAid Meat Grinder Attachment?
In the simplest terms, the KitchenAid meat grinder attachment is an accessory that connects to the power hub of any KitchenAid stand mixer, effectively turning your beloved baking machine into a powerful, efficient meat grinder. Instead of being a bulky, standalone appliance, it cleverly leverages the robust motor you already own.
Think of your stand mixer as the engine and the attachment as the specialized tool. The attachment itself consists of a few key parts:
- The Main Housing: This is the body of the grinder that attaches to the mixer’s hub.
- The Auger (or Grinding Worm): A corkscrew-shaped piece that pushes the meat forward.
- The Blade: A star-shaped knife that cuts the meat.
- The Grinding Plates: Perforated discs that determine the final texture of your grind (fine, medium, or coarse).
- The Food Pusher: A tool to safely push meat down the hopper.
When you turn on the mixer, the motor powers the auger, which feeds the meat toward the spinning blade. The blade cuts the meat into tiny pieces, which are then pushed through the holes in the grinding plate. Voila! Perfectly fresh ground meat.
Why You Absolutely Need This Attachment in Your Life
Okay, I know what you might be thinking. “Is it really worth it?” I had the same thought before I took the plunge. The first time I ground my own chuck roast for burgers, the difference was night and day. The flavor was beefier, the texture was perfect, and I knew exactly what was in it. No fillers, no mystery bits. Trust me, once you go fresh, you never go back.
Here are the game-changing benefits of owning a KitchenAid meat grinder attachment:
- Unbeatable Flavor and Freshness: Grinding meat just before you cook it preserves its natural juices and flavor. The fat and muscle are freshly integrated, creating a taste and tenderness that pre-packaged ground meat simply can’t match.
- Total Control Over Your Food: You choose the cut of meat. You control the fat-to-lean ratio. You decide whether to add spices or other ingredients directly into the grind. Want a 70/30 blend for a super juicy burger? Done. Want to make lean ground chicken or turkey? Easy.
- Improved Food Safety: When you grind your own meat, you reduce the risk of cross-contamination that can occur in commercial processing plants. You’re handling the meat from start to finish.
- Cost-Effectiveness: Often, buying whole cuts of meat like chuck roast or pork shoulder and grinding them yourself is cheaper than buying pre-ground packages. You save money while getting a superior product.
- Incredible Versatility: Don’t let the name fool you. This attachment is for more than just meat. You can grind hard cheeses, stale bread for breadcrumbs, and even firm fruits and vegetables for relishes and salsas.
|
Our Picks for the Best Meat Grinder in 2026
As an Amazon Associate, we earn from qualifying purchases.
|
||
| Num | Product | Action |
|---|---|---|
| 1 | MEAT! 1.5 HP Meat Grinder with 3 Stuffing Tubes, 2 Stainless Steel Grinding Plates, and a Stainless Steel Stuffing Plate for Making Ground Meat |

|
| 2 | STX International Turboforce II 4000 Electric Meat Grinder | Grinds Soft Bones | Foot Pedal | 6 Grinding Plates | Stainless Steel Blades | Sausage Tubes | Kubbe Maker | Meat Claws | Patty Press & More |
|
| 3 | Weston Pro Series Electric Meat Grinder 7 Sausage Stuffer, Commercial Grade, 1500 Watts, 2 HP, 21lbs. Per Minute, Heavy Duty Stainless Steel (10-3201-W) |
|
| 4 | Commercial Meat Grinder #12,0.9HP Electric Meat Mincer,Heavy Duty Stainless Steel Industrial Meat Mincer w/2 Blades & Meat Pusher,Food Grinders Machine for Home Kitchen Regular Use |
|
| 5 | Electric Meat Grinder, Sausage Stuffer with 3 Sausage Tubes, 2 Blades, 3 Plates, 3200W Max, Meat Grinder Heavy Duty for Home Kitchen Use, Stainless Steel (Black) |
|
| 6 | LEM Products BigBite #22 Meat Grinder, 1.0 HP Stainless Steel Electric Meat Grinder Machine, Ideal for Heavy Use |
|
| 7 | VEVOR Commercial Meat Grinder, 550LB/h 1100W Electric Meat Mincer, ETL Approved Heavy Duty Industrial Meat Mincer Machine |
|
| 8 | AAOBOSI Meat Grinder Electric 3000W Max with Touch Color Screen, Auto-Reverse & Built-in Storage - 3 Speed Settings,Grinding, Sausage & Kibbe Making for Home Use, Stainless Steel |
|
| 9 | LEM Products BigBite #8 Meat Grinder, 0.50 HP Stainless Steel Electric Meat Grinder Machine, Ideal for Regular Use |
|
| 10 | MEAT! 1.5 HP Meat Grinder with 3 Stuffing Tubes, 2 Stainless Steel Grinding Plates, and a Stainless Steel Stuffing Plate for Making Ground Meat |
|
The Great Debate: Metal vs. Plastic Grinder Attachments
KitchenAid and third-party manufacturers offer two main versions of the grinder attachment: food-grade plastic and all-metal (usually stainless steel or aluminum). Choosing between them is a common dilemma, so let’s break it down.
| Feature | All-Metal Attachment | Plastic Attachment |
|---|---|---|
| Durability | Extremely robust and built to last. Resists staining and cracking. | Durable for home use, but can be prone to cracking or staining over time. |
| Performance | Excellent. The metal parts can be pre-chilled in the freezer, which is crucial for a clean grind and preventing fat from smearing. | Good. Works well for most tasks, but can struggle with partially frozen or tougher cuts of meat. |
| Cleaning | Most parts are dishwasher safe (check manufacturer instructions), but hand-washing is often recommended to maintain the finish. | Typically top-rack dishwasher safe, making cleanup very easy. |
| Price | More expensive. | More budget-friendly. |
| Best For | Serious home cooks, those who grind meat frequently, or anyone making sausage (cold parts are key). | Casual users, beginners, or those on a tighter budget. |
Expert Tip from Chef David Wilson: “Always, and I mean always, chill your grinder components. I stick the housing, auger, blade, and plate in the freezer for at least 30 minutes before I start. This keeps the fat solid during the grinding process, preventing it from smearing and clogging the machine. It’s the single biggest secret to a perfect, professional-quality grind.”
How to Use Your KitchenAid Meat Grinder Attachment: A Step-by-Step Guide
Ready to get grinding? Learning how to use the KitchenAid meat grinder attachment is incredibly simple. Here’s your foolproof guide:
- Prep Your Meat: Cut your meat into 1-inch cubes. It’s vital to remove any large pieces of silver skin or gristle that could clog the grinder. For the best results, place the meat cubes on a baking sheet and pop them in the freezer for 15-20 minutes. You want them firm, but not frozen solid.
- Assemble the Grinder: With the mixer turned off and unplugged, insert the grinder housing into the power hub and tighten the hub knob. Place the auger inside, followed by the blade (make sure the sharp edges are facing out), and finally, the grinding plate of your choice (coarse or fine). Secure it all with the collar ring, but don’t overtighten.
- Get Ready: Place a large bowl under the grinder to catch the meat. Set your mixer to a low to medium speed, typically 2 or 4.
- Start Grinding: Drop the chilled meat cubes into the hopper, one or two at a time. Use the food pusher to gently guide them down—never use your fingers! Let the machine do the work.
- The Second Grind (Optional): For a finer texture, perfect for sausages or pâté, you can run the ground meat through the grinder a second time.
How to Clean Your KitchenAid Meat Grinder Attachment
Proper cleaning is essential for food safety and the longevity of your attachment. This is one of the most common questions we get!
To clean your KitchenAid meat grinder attachment, you should immediately disassemble all parts after use. Hand-wash them in warm, soapy water with a bottle brush to clean inside the housing and holes of the grinding plates. For a pro-tip, grind a few slices of bread through the machine after the meat; it helps push out any remaining bits.
Here’s a quick checklist for a perfect clean:
- [ ] Unplug the stand mixer.
- [ ] Disassemble all attachment parts (housing, auger, blade, plate, ring).
- [ ] Run a slice of bread through to clear out residue (optional but recommended).
- [ ] Wash all parts in hot, soapy water. Use a small brush for tight spaces.
- [ ] Rinse thoroughly.
- [ ] Dry all parts completely to prevent rust, especially on the blade and plates.
- [ ] Store in a dry place, perhaps lightly coated with food-grade mineral oil for protection.
Beyond Burgers: Creative Uses for Your Grinder
Thinking this attachment is a one-trick pony? Think again! The KitchenAid meat grinder attachment is a surprisingly versatile kitchen tool.
- Homemade Sausages: Many kits come with sausage stuffer tubes. You can create your own custom sausage blends, from classic Italian to spicy chorizo. You can find some of our [favorite sausage recipes right here].
- Fresh Breadcrumbs: Run stale bread through the grinder for perfect, uniform breadcrumbs for meatloaf, pasta toppings, or fried chicken coating.
- Grinding Hard Cheeses: Grate Parmesan or Romano cheese effortlessly.
- Making Pâté and Terrines: Achieve the perfect smooth texture for classic charcuterie.
- Homemade Baby Food: Grind cooked meats and vegetables for nutritious, preservative-free baby food.
- Making Falafel: Grind soaked chickpeas and herbs for the perfect falafel mix.
Frequently Asked Questions (FAQ)
Q1: Is the KitchenAid meat grinder attachment worth it?
A: Absolutely. If you value freshness, flavor, and control over your food, it’s one of the most useful attachments you can own. It delivers superior ground meat, saves money in the long run, and offers incredible versatility for other kitchen tasks.
Q2: Which KitchenAid models is the meat grinder attachment compatible with?
A: The beauty of the KitchenAid system is that the meat grinder attachment is designed to fit the power hub of every KitchenAid stand mixer ever made, from the classic Tilt-Head models to the larger Bowl-Lift series.
Q3: Can I grind bones with the KitchenAid meat grinder attachment?
A: No, you should not grind bones. The attachment is designed for meat and other soft foods. Grinding hard items like bones can damage the auger, blade, and motor of your stand mixer. For raw pet food, you would need a much heavier-duty, dedicated grinder.
Q4: Can you put the KitchenAid meat grinder attachment in the dishwasher?
A: It depends on the model. The plastic versions are generally top-rack dishwasher safe. For the all-metal attachments, you must check the manufacturer’s instructions. Some are dishwasher safe, while others (especially aluminum parts) can oxidize and discolor, so hand-washing is often the safest bet.
Q5: What are the best cuts of meat to grind for burgers?
A: For a classic, juicy burger, you can’t go wrong with beef chuck, which has an ideal fat-to-lean ratio of about 80/20. Brisket and sirloin are also fantastic choices. For an even more epic burger, try a custom blend of all three! We have a whole [guide to the best cuts for grinding] on our site.
The Final Word
So, what is a KitchenAid meat grinder attachment? It’s not just a tool; it’s an upgrade to your entire kitchen. It’s the difference between a meal you make and a meal you create. By giving you absolute control over one of the most fundamental ingredients in cooking, it empowers you to elevate your dishes, experiment with new flavors, and serve food that is fresher, safer, and undeniably more delicious. If your stand mixer is the heart of your kitchen, this attachment is its soul. Are you ready to taste the difference?